How to sketch and plan a design for intricate wooden carving?
In this step-by-step guide, we will show you how to sketch and plan a design for an intricate wooden carving. The purpose of this guide is to provide you with the necessary steps and techniques to create a detailed and well-thought-out design for your wooden carving project. By following our instructions, you will learn how to visualize your ideas, refine your design, and ultimately bring your intricate wooden carving to life. So, let’s get started and unlock your creativity!
Exquisite Handcrafted Masterpieces Await You!
Gather the necessary tools and materials
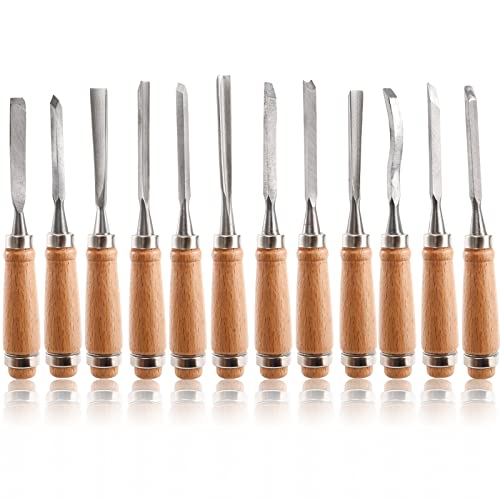
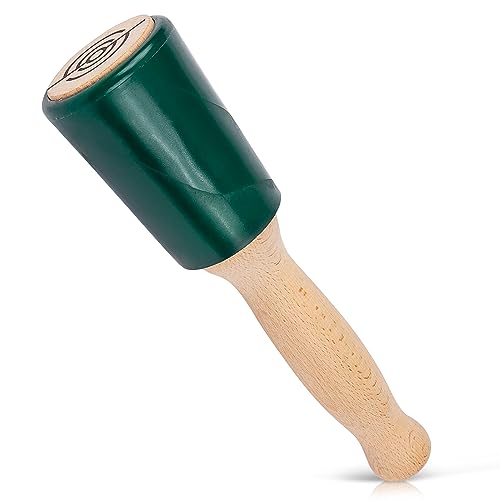
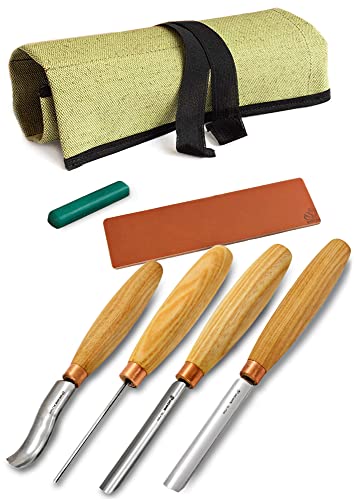
To ensure a smooth and successful wooden carving project, gather all the necessary tools and materials before you start. Grab a sketchbook, pencils, erasers, rulers, carving tools, and a suitable piece of wood. Having these items ready will help you stay organized and prepared as you sketch and plan your intricate design. Happy carving!
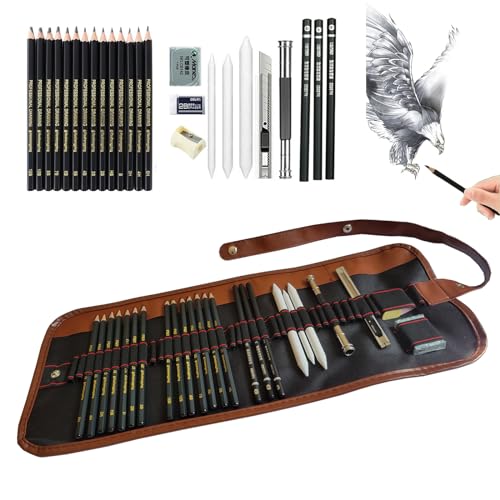
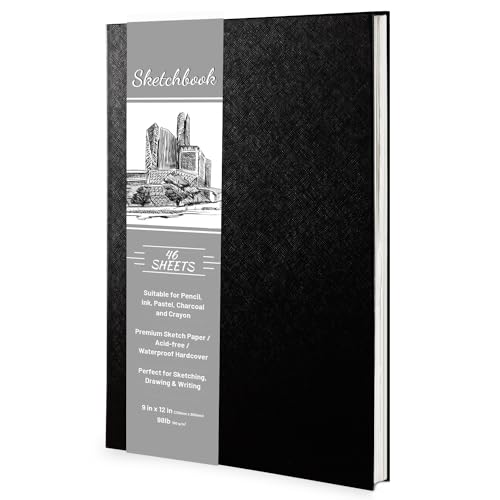
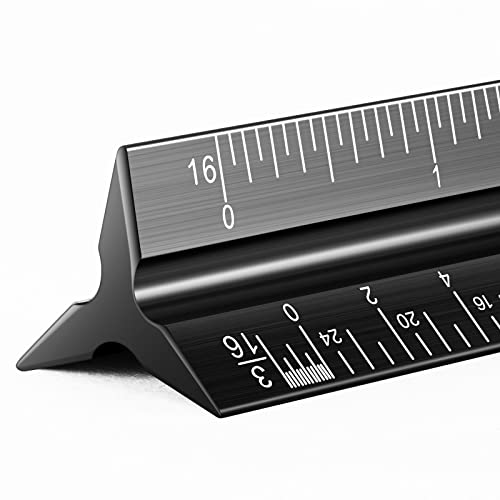
Research and gather inspiration
- Explore different carving styles: Research different carving styles such as traditional, contemporary, or abstract. Look for examples of wooden carvings that catch your eye and pique your interest.
- Study existing wooden carvings: Examine the work of master carvers and study the techniques they use. Take note of the level of detail, the overall composition, and the use of texture in their designs.
- Look for design elements that resonate with you: Pay attention to specific design elements that appeal to you, such as intricate patterns, flowing lines, or realistic representations. Consider how you can incorporate these elements into your own design.
- Develop a vision for your own design: Based on your research and the inspiration you’ve gathered, start forming a vision for your own wooden carving design. Consider the purpose of your carving, the intended audience, and any specific themes or concepts you want to convey.
Remember, the key to creating a unique and intricate wooden carving design is to gather inspiration from various sources and let your creativity flow. Happy researching!
Sketch out the basic shape
To start, grab your sketchbook and pencils. Begin by sketching out the basic shape of your wooden carving. Take into account the size, proportions, and overall form that you want to achieve. This initial sketch will lay the groundwork for the rest of your design.
Refine the details
To refine the details of your design, start by adding intricate patterns, textures, and specific elements that you envision for your wooden carving. Experiment with different variations until you are satisfied with the overall look. Take your time and enjoy the process of bringing your design to life with these personalized touches.
Plan the carving process
To plan the carving process, start by assessing your design and identifying different areas that require specific carving techniques. Determine which areas need deeper cuts and where you’ll add fine details. This will help you understand the sequence of steps you need to follow and ensure a more efficient execution of your design. By planning ahead, you’ll be able to approach each section of the carving with clarity and precision.
Transfer the design to the wood
To transfer your design onto the wood for carving, follow these steps:
- Place your finalized design on top of the piece of wood you have chosen.
- If you’re using carbon paper, make sure the carbon side is facing down towards the wood. Secure the design and carbon paper in place with tape.
- Use a pencil or pen to trace over the lines of your design. The pressure from your tracing will transfer the carbon onto the wood, creating an outline of your design.
- If you prefer to use a lightbox, place your design on the lightbox and position the piece of wood on top. The light from the box will shine through the design, allowing you to trace it onto the wood.
- Once you have traced or transferred the design, remove the design and carbon paper (if you used it) from the wood.
- Inspect the transferred design on the wood to ensure it is accurately transferred. Make any necessary adjustments or touch-ups to the transferred lines before moving on to the carving stage.
By accurately transferring your design onto the wood, you can ensure that your carving will match your intended design. Happy carving!
Begin the carving process
To begin the carving process, start by identifying the areas of your design that require deeper cuts. Use a carving knife or gouge to carefully remove excess wood from these areas. For example, if you are carving a face, you might want to start by shaping the cheekbones or the outline of the nose.
Once you have established the basic shapes, gradually work your way towards the finer details. Use smaller carving tools, such as chisels or V-tools, to add more intricate features. For instance, if you are carving a flower, you could begin by shaping the petals and then move on to adding delicate lines and textures.
Remember to use appropriate carving techniques for each area. For instance, you might need to use a pushing or slicing motion for rough cuts, while a delicate slicing or scraping motion might be suitable for finer details. Experiment with different techniques to achieve the desired results.
If you feel tired or need to take a break, it’s important to listen to your body. Carving requires concentration and precision, so it’s best to work when you are well-rested and focused. Take short breaks to stretch your muscles and relax your mind before continuing with your carving project.
Throughout the carving process, always work with caution and precision. Take your time and pay attention to the wood grain to avoid any unwanted accidents or damage to your design. Remember, practice makes perfect, and with each carving project, you will improve your skills and create beautiful wooden masterpieces.
Refine and smoothen the carving
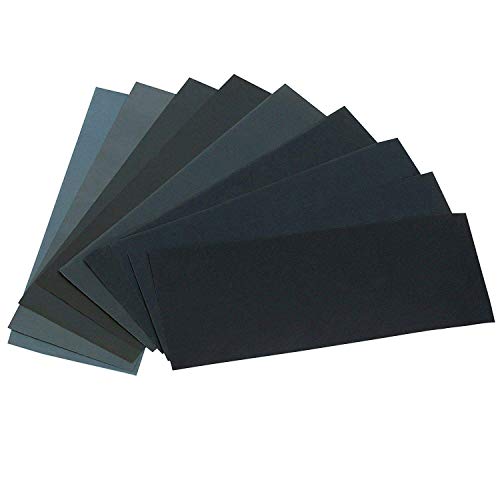
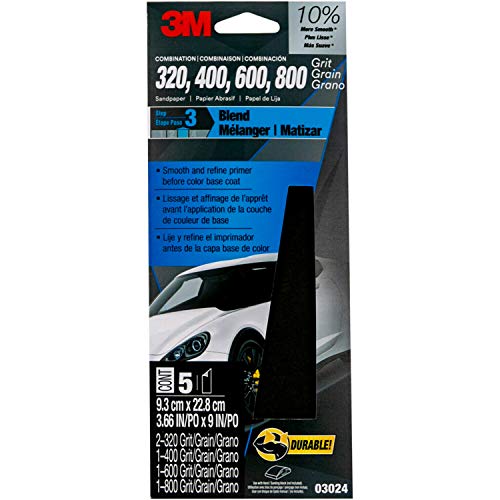
Inspect the wooden piece for any rough edges or imperfections. Use sandpaper or carving tools to carefully refine and smoothen the surface. Pay close attention to the intricate details, ensuring they are well-defined and visually appealing.
Apply a protective finish
To apply a protective finish to your intricate wooden carving and ensure its beauty and durability, follow these easy steps:
- Choose a suitable protective finish: Select a varnish, oil, or wax based on your preference and the type of wood you are working with. For example, if you want a glossy finish, opt for a varnish.
- Prepare the surface: Ensure that the wooden carving is clean and free from dust or debris. Sand the surface gently to create a smooth and even finish.
- Apply the protective finish: Follow the manufacturer’s instructions carefully. Use a clean, soft brush or cloth to apply the finish evenly in the direction of the wood grain. Work in small sections to avoid uneven application.
- Allow drying and curing: Let the protective finish dry completely according to the manufacturer’s recommended drying time. This will allow the finish to cure and provide optimal protection for your wooden carving.
- Optional: Apply multiple coats: Depending on the desired level of protection, you may choose to apply multiple coats of the protective finish. Allow each coat to dry before applying the next one.
By following these simple steps and using the right protective finish for your wooden carving, you can enhance its appearance and safeguard it against damage for years to come.
Wrapping it all up
In conclusion, we have explored the process of sketching and planning a design for intricate wooden carving. We have learned that attention to detail and careful consideration are key in creating visually stunning pieces. By following the step-by-step guidelines provided, you will be well-equipped to bring your creative vision to life. Remember to enjoy the process and let your creativity shine through in your wooden carvings. Happy carving!
Essential Supplies

Mastering the Art
Getting Started with the Intricate Wooden Carving Set
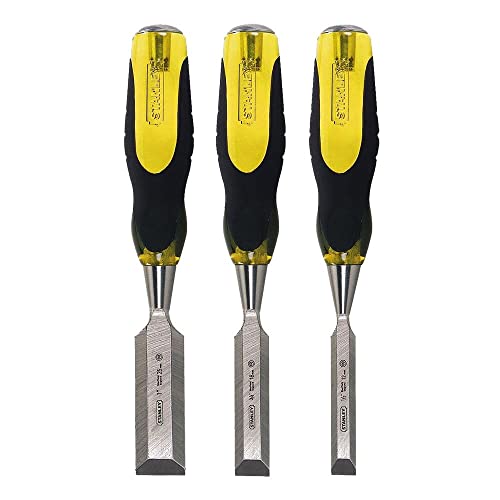
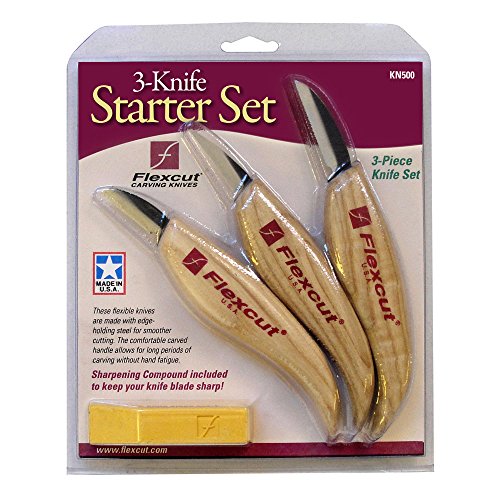
- Start with the right tools: Familiarize yourself with the different tools included in the carving set, such as carving knives, chisels, and gouges. Each tool has a specific purpose, so understanding their uses will help you achieve better results
- Choose the right wood: Select a softwood, such as basswood or pine, for beginners. These woods are easier to carve and work with compared to harder woods like oak or mahogany. This will help you gain confidence and improve your carving skills
- Begin with simple designs: Start with simple shapes and designs to practice your carving technique. It’s important to build your skills and confidence gradually before attempting more intricate and complex designs. You can find beginner-friendly patterns and templates online or in carving books
- Practice safety measures: Carving can be a rewarding but potentially dangerous activity. Always prioritize safety by wearing protective gloves and goggles, and keeping your carving tools sharp to reduce the risk of accidents. Take your time and be mindful of your fingers and hands while carving
- Seek guidance and inspiration: Don’t hesitate to seek guidance from experienced carvers or join carving communities. They can provide valuable tips, advice, and inspiration to help you improve your skills. Additionally, exploring different carving styles and techniques through books, videos, or workshops can enhance your creativity and broaden your knowledge
- Remember, carving is a skill that takes time and practice to master. Patience and perseverance are key, so don’t get discouraged if your initial attempts don’t turn out as expected. With practice and dedication, you will gradually develop your own unique style and create beautiful wooden masterpieces!


This guide is fantastic! It covers all the necessary steps to sketch and plan a design for intricate wooden carving. I would love to see a follow-up article that focuses on different types of wood and their characteristics. It would be great to learn which types of wood are best suited for intricate carvings and how to choose the right wood for a specific design. Thank you for sharing this valuable information!
I really enjoyed reading this guide and found it very helpful. I have been working on wooden carvings for a while now, and I have a different approach for step 3. Instead of sketching out the basic shape directly on the wood, I prefer to create a detailed sketch on paper first. This allows me to experiment with different design ideas and make adjustments before transferring the final design to the wood. It would be interesting to discuss different variations and techniques for sketching and planning a design for wooden carvings.
Thank you for this guide! I followed these steps to sketch and plan a design for an intricate wooden carving and it turned out beautifully. I used a set of high-quality carving tools and a piece of hardwood for the project. The instructions were clear and easy to follow, and I appreciate the emphasis on refining the details and smoothening the carving. The final result exceeded my expectations! I would love to share some pictures of my finished carving as a success story related to this article.