How to preserve and protect finished wood carvings?

Wood carvings are beautiful pieces of art that require regular care and protection to ensure their longevity. In this step-by-step guide, we will walk you through the process of preserving and protecting your finished wood carvings.
First, we will show you how to clean your wood carvings properly. Dust and dirt can accumulate over time, dulling the appearance of your carvings. We will explain the best techniques and tools to use for a thorough yet gentle cleaning.
Next, we will delve into the world of wood carving finishes. Choosing the right finish is crucial for protecting your carvings from moisture, UV rays, and other environmental factors. We will guide you through the different types of finishes available and help you select the most suitable one for your specific needs.
Once you have chosen your finish, we will provide detailed instructions on how to apply it to your wood carvings. We will cover the correct techniques, tools, and safety precautions to ensure a smooth and even application.
Additionally, we will share tips on how to maintain your wood carvings after they have been finished and protected. This includes advice on regular dusting, avoiding direct sunlight, and monitoring humidity levels.
Finally, we will conclude with a crazy fact: Did you know that wood carvings have been found dating back thousands of years? It’s truly remarkable how this ancient art form has stood the test of time.
We understand that your wood carvings hold sentimental and artistic value, and we want to help you keep them looking their best for years to come. So, let’s get started on preserving and protecting your finished wood carvings together!
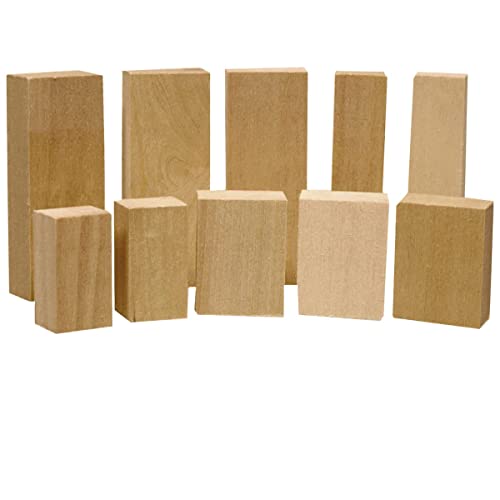
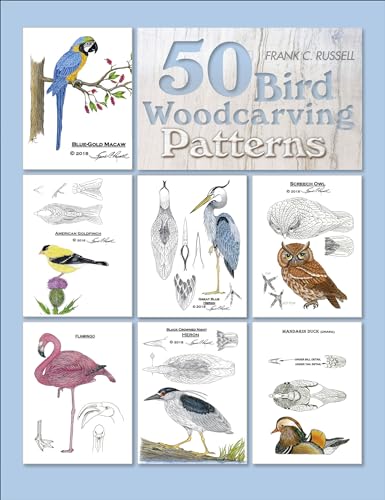
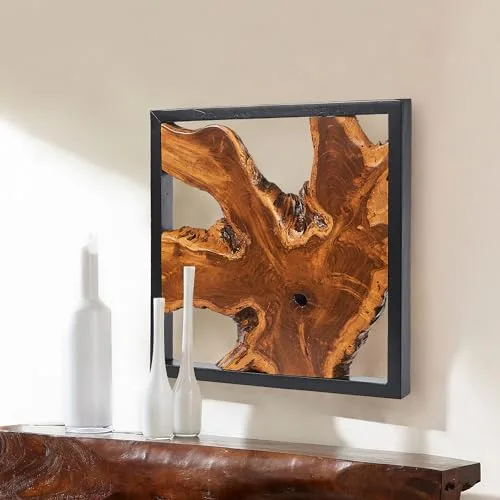
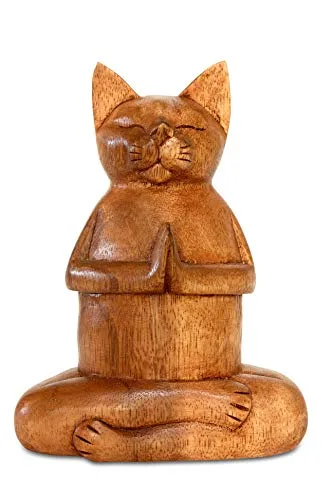
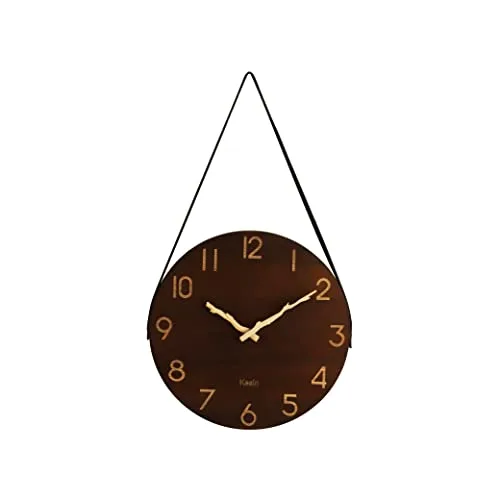
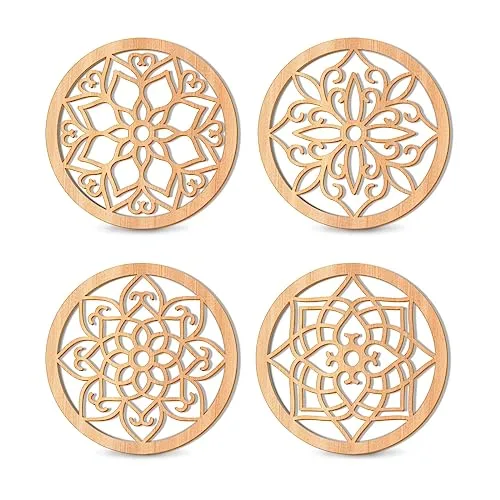
Top Picks in Wood Carvings

Inspect the Wood Carvings
To inspect the wood carvings, start by carefully examining them for any signs of damage or wear. Look closely for cracks, splinters, or areas that may require repair before you proceed with the preservation process. Here’s a step-by-step guide to help you:
- Observe the carvings: Take a close look at the wood carvings, paying attention to all the details. Look for any visible damage, such as cracks or splinters.
- Use your fingertips: Gently run your fingertips over the surface of the carvings. Feel for any rough or uneven areas that might indicate damage or wear.
- Check for loose parts: Wiggle the individual parts of the carving, such as limbs or intricate details. If anything feels loose or wobbly, it may require repair to prevent further damage.
- Look for discoloration: Notice if there are any areas of the wood that appear discolored or faded. This could be a sign of decay or damage that needs attention.
- Inspect the joints: Examine the joints of the wood carvings, particularly where different pieces are connected. Look for any gaps or signs of separation that may need to be addressed.
Remember, it’s essential to carefully document any damage or wear you find during the inspection process. Taking clear photos and notes will help you plan the necessary repairs and ensure a successful preservation process.
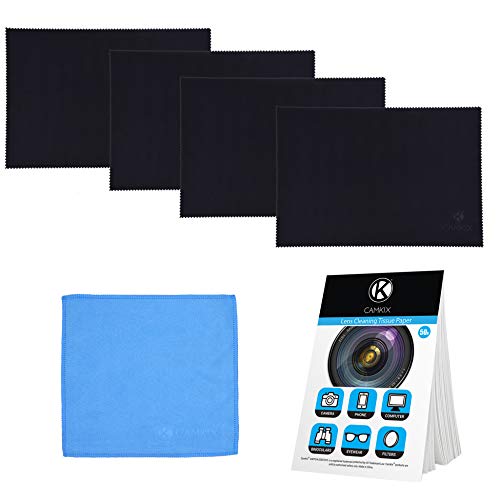
Clean the Surface
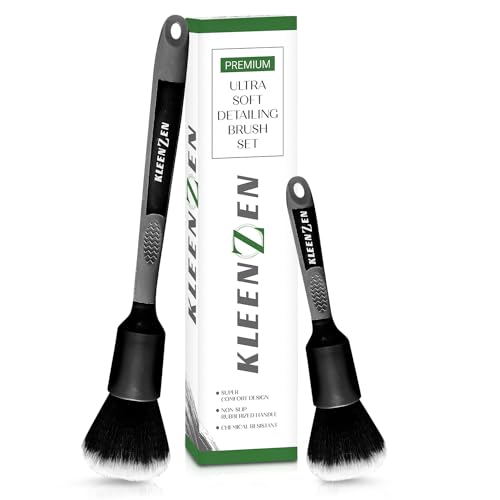
To clean the surface of wood carvings, start by using a soft brush or microfiber cloth to gently remove any dust or dirt. Be careful not to use abrasive materials that could scratch or damage the finish. Wipe the surface in a gentle, sweeping motion to ensure a thorough clean.
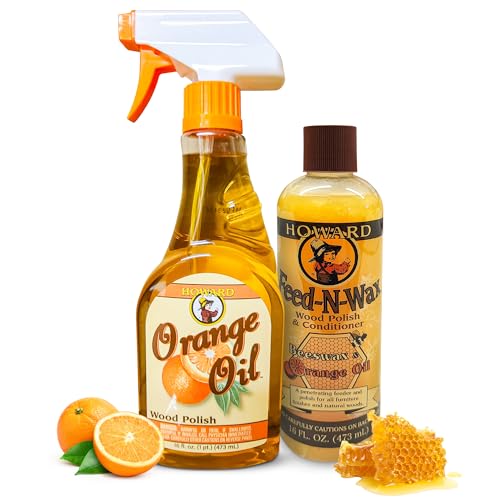
Apply Wood Cleaner
To apply wood cleaner to your carvings, start by selecting a cleaner that is specifically designed for the type of wood used in your carvings. Follow the manufacturer’s instructions for application, using a clean cloth or sponge to apply the cleaner. Be sure to cover all surfaces of the wood carvings, ensuring a thorough cleaning.
Remove Excess Cleaner
To remove excess cleaner from the wood carvings, take a separate clean cloth or sponge and wipe away any residue left behind by the wood cleaner. This step is essential to prevent buildup and ensure a thorough cleaning. Simply dampen the cloth or sponge with water and gently wipe away the excess cleaner from the wood carvings until they are clean and residue-free.
Repair any Damaged Areas
To repair any damaged areas, begin by identifying any cracks, splinters, or other forms of damage during your inspection. Once identified, follow these steps:
- Cracks: If you notice any cracks in the wood, use a wood filler to repair them. Start by cleaning the crack with a brush or cloth to remove any debris. Then, apply the wood filler using a putty knife, making sure to fill the crack completely. Allow the filler to dry according to the product instructions and sand it smooth afterwards.
- Splinters: If you come across any splintered areas, gently sand them down with sandpaper to smooth out the surface. Be sure to sand in the direction of the wood grain, using a back-and-forth or circular motion. Once the splintered area is smooth, wipe away any dust with a clean cloth.
- Other damage: For any other forms of damage, such as loose joints or broken pieces, use appropriate wood glue to fix them. Apply a thin layer of glue to both surfaces that need to be joined, then press them together firmly. Wipe off any excess glue and use clamps or weights to hold the pieces in place until the glue dries completely.
Remember to always read and follow the instructions provided by the specific product you are using, as different wood fillers and glues may have slightly different application methods. By repairing any damaged areas using these techniques, you can restore the integrity and beauty of your woodwork.
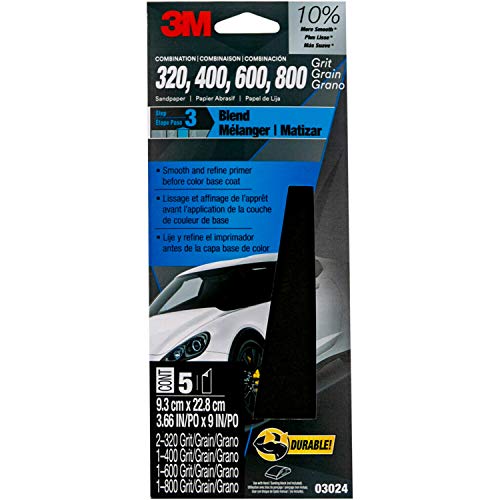
Sand the Wood
To sand the wood, start by selecting a fine-grit sandpaper. Gently rub the sandpaper along the surface of the wood carving, moving in the direction of the wood grain. Apply light pressure and be careful not to over-sand or press too hard, as this can damage the intricate details of the carving. Regularly check the surface to gauge the progress and stop sanding once the roughness or unevenness is smoothed out.
Apply Wood Conditioner
To apply wood conditioner properly, follow these steps:
- Prepare the surface: Start by sanding the wood to remove any rough spots or imperfections. Wipe away any dust or debris with a clean cloth.
- Shake the bottle: Give the wood conditioner a good shake before opening to ensure that the contents are well mixed.
- Apply the conditioner: Use a brush or a clean cloth to apply an even coat of wood conditioner to the entire surface. Work in the direction of the wood grain for optimal coverage.
- Allow absorption time: Let the conditioner sit on the wood for the recommended amount of time specified on the product instructions. This will typically range between 5 and 15 minutes.
- Wipe off excess: After the absorption time has passed, carefully wipe off any excess conditioner with a clean cloth. This will help to prevent the finish from becoming blotchy or uneven.
- Wait for drying: Allow the wood conditioner to fully dry before applying any protective finish. This will usually take around 2-3 hours, but refer to the product instructions for specific drying times.
By following these steps, you ensure that the wood conditioner penetrates the wood fibers, enhancing the absorption of the protective finish and providing a smoother and more uniform surface for a professional-looking result.
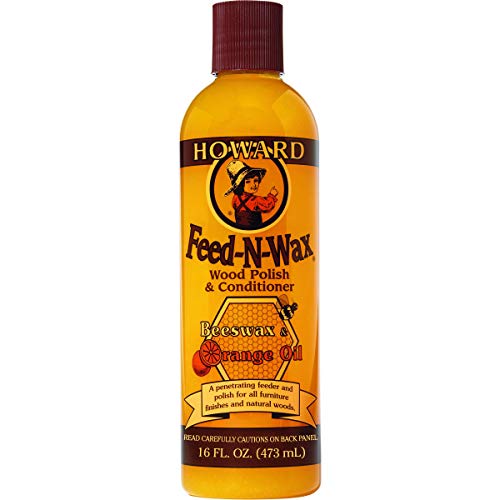
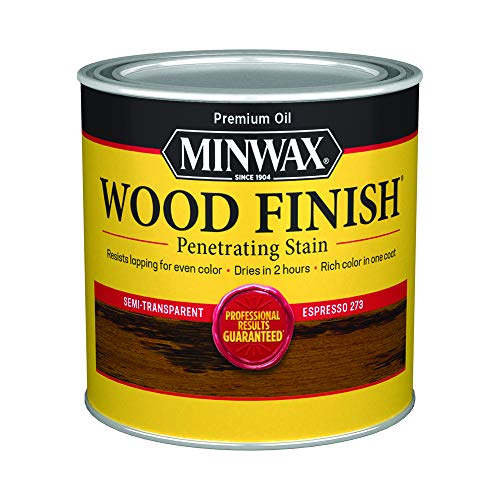
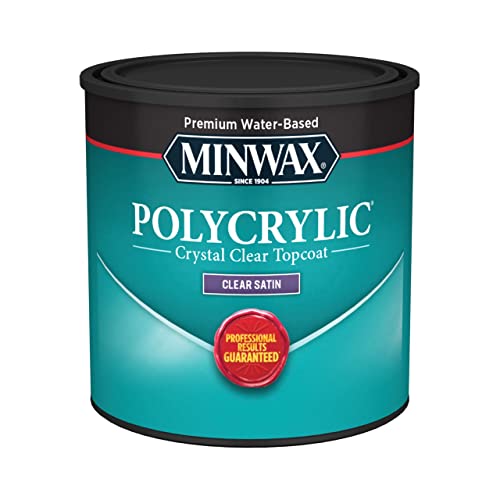
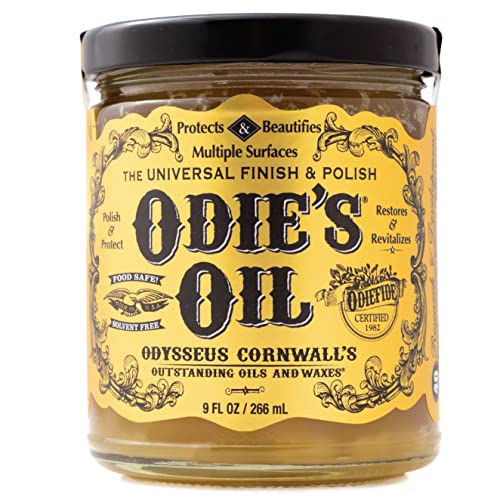
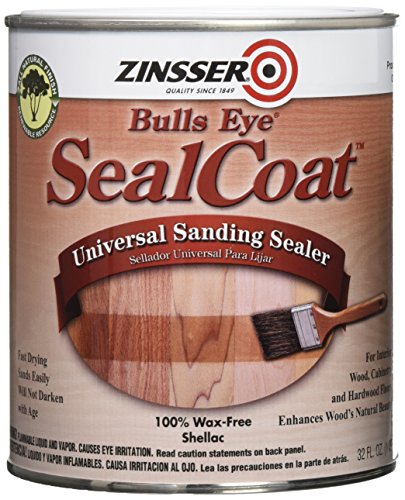
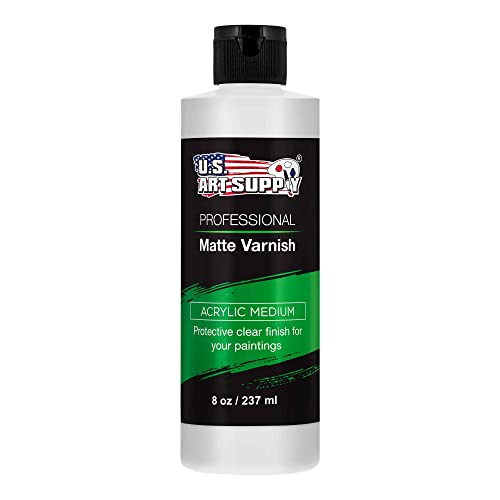
Choose a Protective Finish
To select an appropriate protective finish for your wood carvings, start by considering the type of wood you are working with. For softwoods, such as pine or cedar, a varnish or lacquer may provide good protection. For hardwoods, such as oak or mahogany, an oil-based finish can enhance the natural beauty of the wood. Next, think about the level of protection you desire. Varnish and lacquer offer a durable, glossy finish that can withstand heavy use, while oil-based finishes provide a more natural and matte look. Finally, consider the final appearance you want to achieve. Varnish and lacquer will give a smooth, shiny finish, while oil-based finishes will enhance the wood’s grain and provide a more rustic look. Experimenting with different finishes on scrap wood can help you determine the best option for your wood carvings.
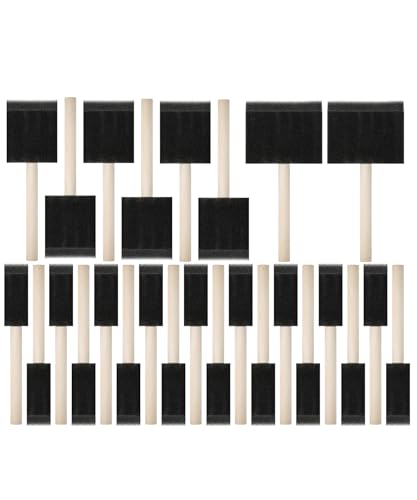
Apply the Protective Finish
To apply the protective finish to your wood carvings, follow these steps:
- Using a brush or cloth, evenly apply the protective finish onto the carvings.
- Make sure to cover all surfaces, including intricate details, to ensure complete protection.
- If multiple coats are necessary, allow the recommended drying time between each coat.
- Apply additional coats as needed to achieve the desired level of protection.
- Be mindful of any specific recommendations or instructions provided by the manufacturer of the protective finish.
- Remember to clean your brush or cloth thoroughly after each use to maintain its quality for future applications.
By following these simple instructions, you can effectively protect your wood carvings and ensure their longevity and beauty.
Maintain Regular Cleaning and Inspection
To maintain your wood carvings in excellent condition, follow these simple steps:
- Clean regularly: Use a soft cloth and mild wood cleaner to gently wipe away dust and dirt from your wood carvings. This will help keep them looking their best and prevent the accumulation of grime.
- Inspect for damage: Regularly examine your wood carvings for any signs of damage or wear. Look for cracks, chips, or any areas that may need repair. This will allow you to address any issues before they worsen.
- Promptly address any issues: If you notice any damage or wear during your inspection, take immediate action. Repair any cracks or chips using wood filler or glue, and touch up any areas that may have lost their finish. By addressing issues promptly, you can prevent further damage and ensure the longevity of your wood carvings.
Remember, regular cleaning and inspection are essential to maintain the beauty and integrity of your wood carvings. By incorporating these practices into your routine, you can enjoy your wood carvings for years to come.
Preserving the Beauty
In conclusion, we are thrilled to see that you now have the knowledge to preserve and protect your finished wood carvings. By implementing the steps we discussed and being diligent in your care routine, your carvings will remain in pristine condition for many years to come. Remember, regular maintenance is key to ensuring the longevity and beauty of your cherished pieces. So, go ahead and showcase your impressive wood carvings, knowing that you have the tools to keep them looking their best. Happy carving and preserving!


I’ve had issues with wood carvings cracking over time. Any suggestions on how to prevent that?
I never thought about using a humidifier to prevent wood carvings from drying out. Great tip!
I didn’t know that using a soft cloth was important when cleaning wood carvings. Good to know!
Do you have any recommendations for specific wood finishes that work well for preserving wood carvings?
Has anyone tried using varnish or lacquer to protect their wood carvings? I wonder how effective it is.
These tips are really helpful! I’ll definitely be implementing them to preserve my wood carvings.
It’s interesting to learn about the different types of pests that can damage wood carvings. I’ll definitely keep an eye out for them.
I love how wood carvings add a unique touch to any space. It’s important to take proper care of them to ensure their longevity.
I’ve heard that applying a layer of wax can help protect wood carvings. Is that true?
I appreciate the advice on how to store wood carvings properly. I’ll make sure to follow these steps.
Thanks for sharing these tips! I have a few wood carvings that I want to preserve.