How to do woodblock printing?

In our step-by-step guide titled “How to do woodblock printing?”, we will explore the fascinating art of woodblock printing. This traditional technique allows you to create beautiful prints by carving a design into a wooden block and then transferring it onto various surfaces. Whether you’re a beginner or an experienced artist, this guide will provide you with all the necessary steps to create your own stunning woodblock prints. Get ready to unleash your creativity and embark on a journey into the world of woodblock printing! Oh, and did you know that the oldest surviving woodblock print dates back to the 8th century? It’s a crazy fact that highlights the enduring legacy of this remarkable art form. So let’s dive in and discover the wonders of woodblock printing together!
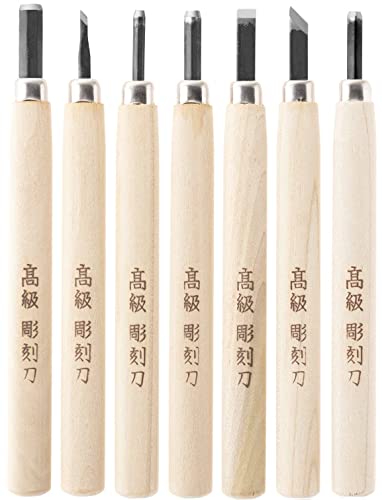
Top Picks for Woodblock Printing Enthusiasts
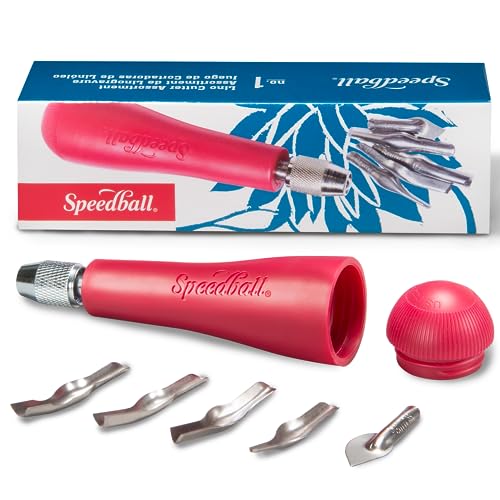
Gathering Materials
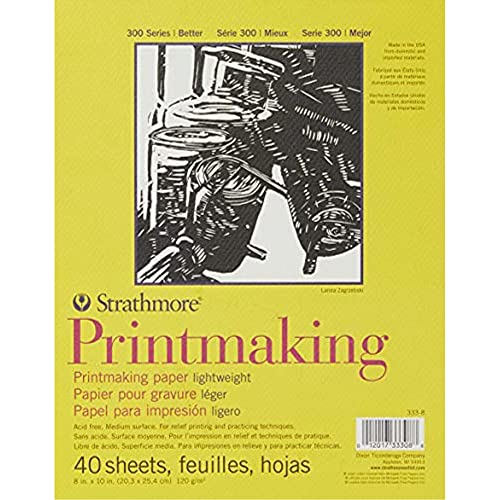
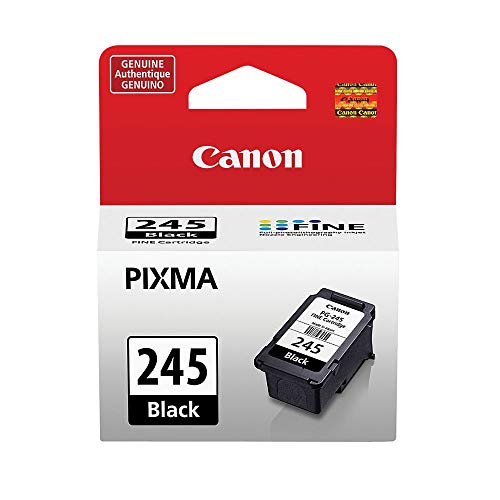
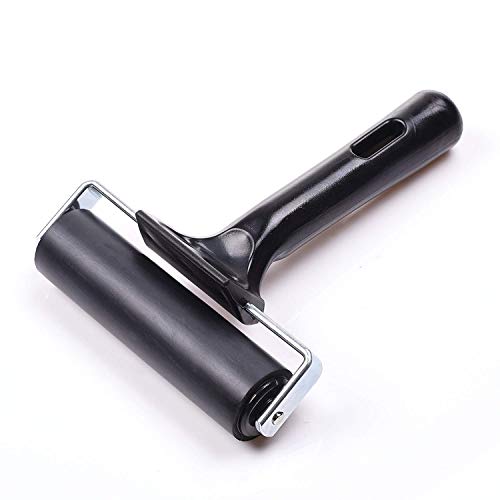
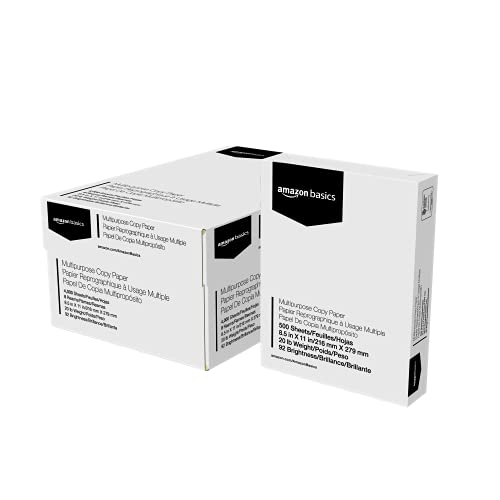
To gather the necessary materials for woodblock printing, start by acquiring woodblocks, carving tools, ink, a brayer, paper, and a printing surface. Begin by selecting the type of woodblock you prefer, such as linoleum or birch plywood. Purchase a set of carving tools with various sizes and shapes to carve your design onto the block. Next, acquire printmaking ink in the colors of your choice and a brayer to evenly distribute the ink on the block. Finally, obtain high-quality printmaking paper and a flat, smooth surface for printing. With these materials, you’ll be ready to embark on your woodblock printing journey.

Designing the Image
To sketch or transfer your desired image onto the woodblock, start by placing the image you want to use on top of the woodblock. Secure the image with tape or pins to prevent it from moving. Then, use a pencil or tracing paper to trace the outline of the image onto the woodblock. Be sure to press firmly to ensure that the tracing is clear and easy to follow. Once you have traced the entire image, remove the paper or image and you will be left with the outline of your design on the woodblock.
Carving the Woodblock
To carve your design on the woodblock, begin by using the appropriate carving tools. Start with the outermost lines and gradually work towards the finer details. Carefully and steadily apply pressure to remove the unwanted wood, ensuring you follow the lines of your design. Take your time and work patiently, using small, controlled movements to avoid any mistakes or slip-ups. Remember to always check your progress and make any necessary adjustments along the way.
Inking the Woodblock
To apply a thin, even layer of ink onto the carved surface of the woodblock, start by placing a small amount of ink on a flat surface. Then, take the brayer and roll it back and forth in the ink, making sure to distribute the ink evenly across the roller. Next, roll the inked brayer over the carved surface of the woodblock in a smooth, controlled motion. Make sure to apply gentle pressure to ensure the ink adheres to the crevices and lines of the carving. Repeat this process as needed until the entire carved surface is evenly coated with ink.

Preparing the Printing Surface
To prepare the printing surface, start by grabbing a clean sheet of paper. Place it on the surface where you plan to print and make sure it is aligned properly. To keep the paper in place, use tape to secure the edges or place weights on the corners. This will ensure that the paper stays flat and doesn’t move during the printing process.
Printing the Image
To print the image, follow these steps:
- Ink the woodblock using a brayer, ensuring that the entire surface is evenly covered.
- Place the paper on a flat surface and position the inked woodblock on top of it.
- Press the woodblock firmly onto the paper, applying even pressure with your hands or a printing press.
- Gently lift the woodblock off the paper to reveal the printed image.
Removing the Woodblock
To carefully lift the woodblock off the paper and reveal your printed image, first, ensure that your hands are clean and dry. Gently grip the edges of the woodblock with both hands, making sure to support the entire surface to prevent any damage. Slowly and steadily lift the woodblock straight up and away from the paper, taking care not to smudge or tear the print.
Drying the Print
To ensure the best results for your print, allow it to dry completely before handling or displaying it. This will prevent smudging or damage to the ink. Find a clean, dry surface and place the print on it, making sure it is not touching any other objects. Leave it undisturbed for at least 24 hours until it is completely dry.
Cleaning the Woodblock
To clean the woodblock and carving tools thoroughly, start by rinsing them with soap and water. Make sure to scrub gently to remove all traces of ink from the surfaces. Rinse with clean water to remove any soap residue, and then pat dry with a clean cloth. It is important to clean the woodblock and carving tools after each use to maintain their quality and prevent any ink residue from affecting future prints.
Experimenting and Improving
To continue improving your woodblock printing skills, we recommend practicing and experimenting with different techniques. Start by selecting a new technique you want to try, such as layering colors or creating texture. Gather the necessary materials and set up your workspace. Then, follow step-by-step instructions to learn and apply the technique. Don’t be afraid to make mistakes and learn from them. Keep practicing and experimenting until you feel confident in your skills.
Expert Tips and Final Thoughts
In conclusion, we have explored the fascinating world of woodblock printing and learned about the key steps involved in this unique art form. From selecting the right materials and tools to carving the design and applying ink, each step plays a crucial role in creating beautiful prints. By following our guide, you now have a solid foundation to start your own woodblock printing journey. Remember to continue exploring different techniques and styles, as this art form offers endless possibilities for creativity. Whether you choose to pursue it as a hobby or a profession, we hope you find joy and fulfillment in the world of woodblock printing. Happy printing!
Essential Supplies
Mastering the Craft
Step-by-Step Guide to Mastering Woodblock Printing
- Gather your materials: You will need a woodblock, carving tools, ink, a brayer (roller), paper, and a flat surface to work on
- Design your image: Start by sketching out your design on a piece of paper. Keep in mind that the final print will be a mirror image of your design, so plan accordingly
- Transfer the design: Once you have your design ready, transfer it onto the woodblock. You can use tracing paper or carbon paper to transfer the design. Make sure it is firmly attached to the block
- Carve the block: With your carving tools, carefully carve away the areas of the woodblock that you do not want to print. Start with the lighter areas and gradually move to the darker areas. Take your time and be patient
- Ink and print: Apply a thin, even layer of ink onto the carved surface of the block using the brayer. Place your paper on top of the inked block and apply pressure evenly. Peel off the paper to reveal your print!
- Remember, woodblock printing takes practice, so don’t be discouraged if your first prints don’t turn out perfectly. Keep experimenting and refining your technique, and you’ll soon create beautiful prints!
All your burning questions about woodblock printing, answered!
What are the origins of woodblock printing?
Woodblock printing originated in ancient China during the Tang Dynasty (618-907 AD). It is believed to have been invented by a man named Fang Sheng, who was a government official. The technique spread to other parts of East Asia, including Japan and Korea. In woodblock printing, an image is carved into a block of wood, and then ink is applied to the raised surface of the block. The block is then pressed onto paper or fabric to create a print. This method of printing played a crucial role in disseminating knowledge, culture, and art throughout the region, and it eventually spread to other parts of the world, influencing the development of printing techniques across different cultures and civilizations.
What are the different types of woodblock printing techniques?
There are several different types of woodblock printing techniques, each with its own unique characteristics and history. Here are a few of the most notable ones:
- Ukiyo-e: This is a traditional Japanese woodblock printing technique that originated during the Edo period (1603-1868). Ukiyo-e prints often depict scenes from the “floating world,” including landscapes, portraits, and kabuki theater. They are known for their vibrant colors and intricate details.
- Moku Hanga: Also known as Japanese woodblock printing, moku hanga is a technique that involves carving multiple blocks for different colors and layers. Water-based pigments are used, and the prints are typically created by hand using a baren (a handheld disc for applying pressure).
- Chinese Woodblock Printing: Dating back to the Tang Dynasty (618-907 AD), Chinese woodblock printing is one of the oldest printing techniques in the world. It involves carving characters or images onto wooden blocks, applying ink to the block’s surface, and then transferring the inked impression onto paper.
- Western Woodblock Printing: This technique gained popularity in Europe during the 15th century and was commonly used for religious texts, illustrations, and playing cards. Western woodblock prints often feature bold lines and limited color palettes, and they played a significant role in the development of printing in the Western world.
- Reduction Woodblock Printing: This technique involves carving a single block of wood, printing multiple layers of colors from the same block by progressively cutting away parts of the block after each color is printed. This method requires careful planning and precise execution.

I’ve tried a different method for inking the woodblock by using a brayer instead of a brush. I found that it gave me more control over the application of ink and resulted in a more even coverage on the block. Give it a try!
Thank you for sharing your variation! Using a brayer for inking is a great idea and can definitely provide more control. I’m glad it worked well for you. Keep experimenting and finding what works best for you!
I followed this guide and successfully printed my first woodblock image. It was such a rewarding process and the print turned out beautifully. Thank you for all the detailed instructions!
Congratulations on your successful woodblock print! I’m so happy to hear that the guide was helpful and that your print turned out beautifully. Keep up the great work and enjoy your newfound printing skills!
This guide is fantastic! I would love to see a future article on different types of woodblock printing techniques, such as reduction printing or multi-block printing. Keep up the great work!
Thank you for your feedback! I’m glad you enjoyed the guide. I’ll definitely consider covering different types of woodblock printing techniques in future articles. Stay tuned!
I noticed that the guide doesn’t mention anything about using a registration system to ensure accurate alignment when printing multiple colors. It would be great to include some tips on that.
Thank you for bringing that up! You’re absolutely right, using a registration system is an important aspect of multi-color printing. I appreciate your suggestion and will make sure to include tips on that in future articles. Thanks for your input!
Could you provide some ideas for different applications of woodblock printing? I’m looking for ways to incorporate it into my craft projects.
I really enjoyed this guide and would love to see a step-by-step tutorial on how to make your own printing press at home. That would be a great addition!
Thank you for your feedback! I’m glad you enjoyed the guide. A tutorial on making a printing press at home is a fantastic idea. I’ll definitely consider covering that topic in a future article. Stay tuned!
Thank you for your comment! I’m glad you found success using a softer woodblock material. It’s always important to adapt the steps to your own needs and comfort level. Happy printing!
I really enjoyed following this guide! However, I found that using a softer woodblock material worked better for me as a beginner. It was easier to carve and I was able to achieve finer details in my prints. Thanks for the great instructions!