How to create a glossy or matte finish on the wooden artwork?
In our step-by-step guide on “How to create a glossy or matte finish on wooden artwork,” we aim to help you enhance the beauty and longevity of your handcrafted wooden art pieces. Whether you prefer a sleek glossy finish or a subtle matte look, this guide provides you with the necessary steps to achieve your desired result. We understand that creating and preserving wooden artwork requires specific techniques, and we’re here to assist you every step of the way. Let’s dive into the guide and discover how to create a stunning finish that will truly showcase the brilliance of your wooden masterpieces.
Prepare the wooden artwork
To prepare the wooden artwork:
- Start by ensuring the surface is clean and free from any dust or debris. You can use a soft cloth or a brush to gently remove any particles.
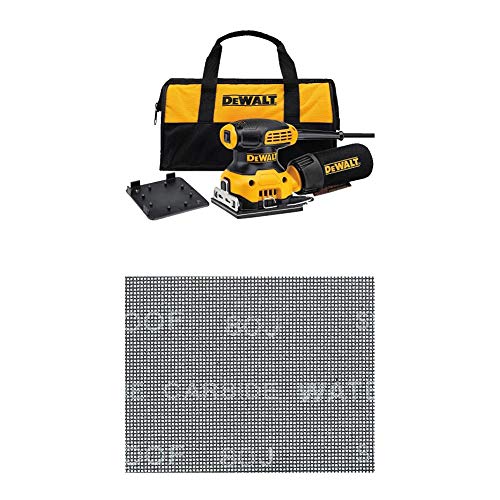
- Next, lightly sand the surface to create a smooth base for the finish. Use a fine-grit sandpaper and apply even pressure in the direction of the wood grain. Be careful not to over-sand or damage the artwork.
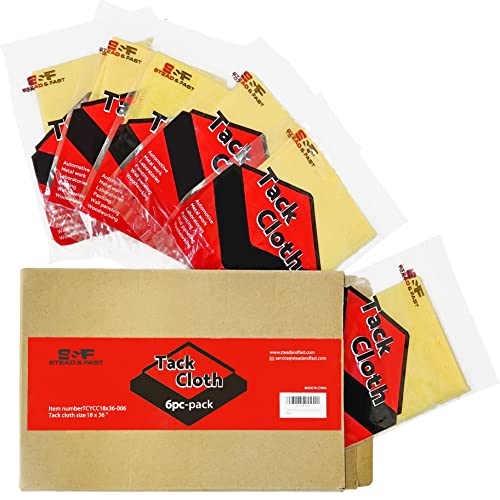
- After sanding, wipe away any dust with a clean, dry cloth before proceeding to apply the finish. This will help ensure a clean and professional end result.
Remember, taking the time to properly prepare the wooden artwork will help achieve a more polished and long-lasting finish.
Choose the finish type
When deciding on the finish type for your wooden artwork, it’s important to consider whether you want a glossy or matte finish. Think about the desired effect you want to achieve and the type of wood you are working with. A glossy finish can enhance the natural beauty of the wood and provide a shiny, reflective surface. On the other hand, a matte finish can create a more subtle, understated look. Consider the characteristics of your wood and choose the finish type that best complements your artistic vision.
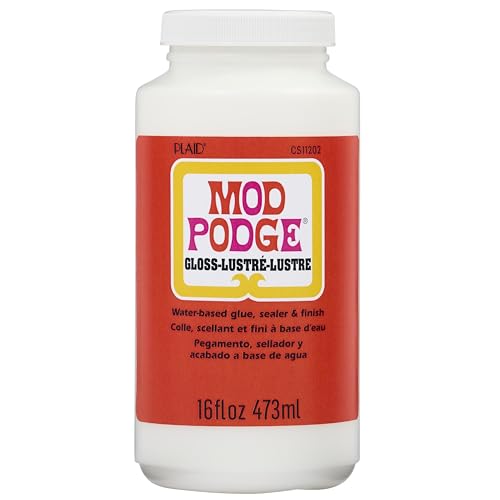
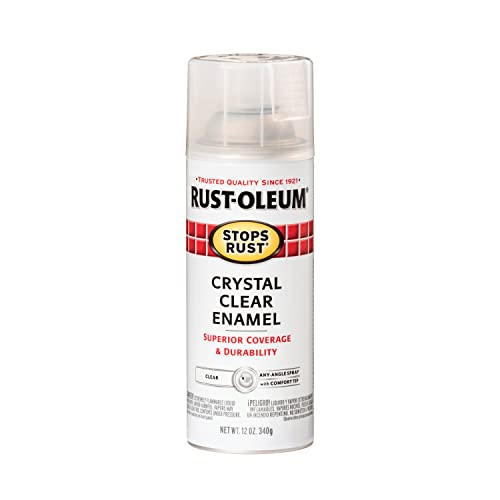
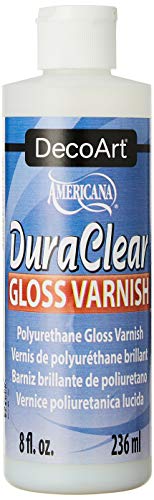
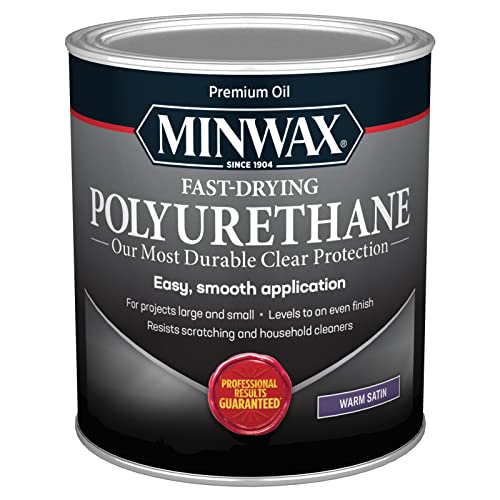
Glossy finish
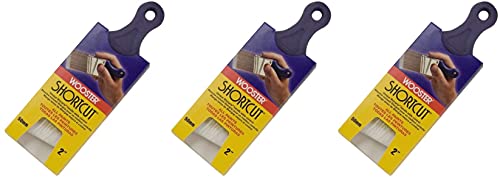
To achieve a glossy finish on your project, start by preparing a clean brush and a high-quality wood varnish. Dip the brush into the varnish, making sure to coat it evenly. Begin applying the varnish to the surface of your project, using smooth, even strokes. Allow the first coat to dry completely before applying a second coat, if desired. This will help build up the glossy finish and ensure a smooth and polished look. Remember to follow the instructions on the varnish product for drying times and any additional steps or precautions.
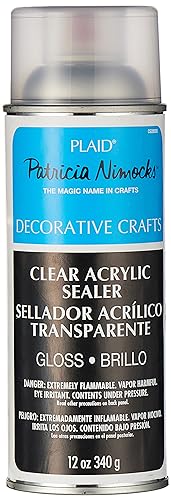

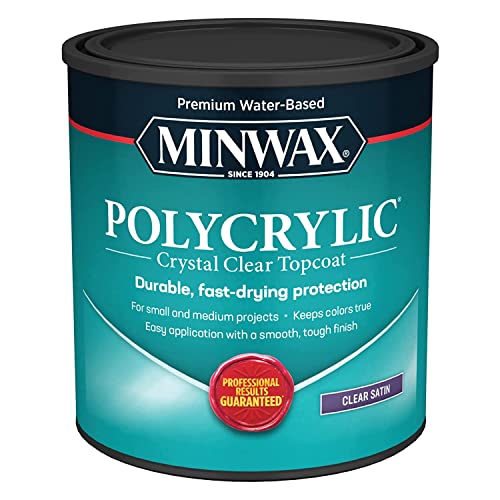
Matte finish
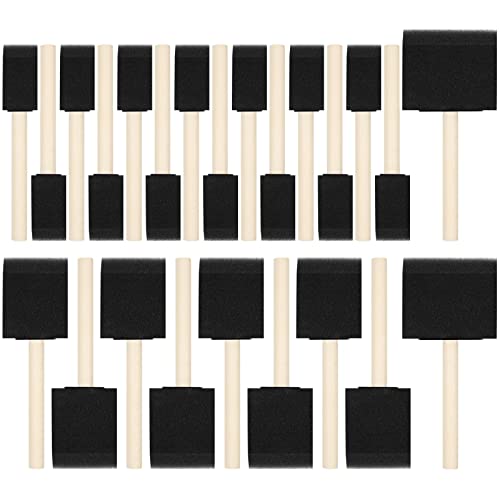
To achieve a matte finish, start by preparing the wooden surface by sanding it smooth. Then, using a brush or sponge applicator, apply a thin and even layer of matte varnish. Make sure to brush in the same direction as the wood grain for a seamless finish. Allow the varnish to dry completely before applying any additional coats if desired.
Sand the finish
To achieve a flawless finish, begin by gently sanding the dried varnish using fine-grit sandpaper. This step is crucial as it helps eliminate any imperfections on the surface and creates a smooth, even texture. Remember to apply light pressure and move the sandpaper in a circular motion for best results.
Clean the artwork
To clean the artwork, first, take a clean, dry cloth and gently wipe the sanded surface. Make sure to remove any dust or debris thoroughly to ensure a clean surface. It is important to achieve a completely clean surface before proceeding.
Apply a second coat (optional)
To enhance the finish of your varnished project, you may choose to apply a second coat. If desired, follow the same process as in steps 3 and 4. Here’s how you can do it:
- Make sure the first coat of varnish is completely dry.
- Use a clean brush or roller to apply the second coat evenly.
- Allow the second coat to dry according to the manufacturer’s instructions before handling or using the item.
Remember, applying a second coat is optional, but it can help achieve a smoother and more durable finish.
Allow the finish to cure
Let the artwork dry and cure for the recommended time specified on the varnish packaging. This will allow the finish to fully set and harden, ensuring a durable and long-lasting result. Avoid touching or moving the artwork during this time to prevent any smudging or damage to the finish. Once the recommended curing time has passed, your artwork will be ready to display or handle with confidence.
Inspect and touch up
To inspect the finished artwork, carefully examine it for any imperfections or areas that may require touch-ups. Look for any smudges, uneven lines, or missed spots. Once you identify any issues, grab a fine brush or sponge and address them by gently applying the necessary touch-ups. Take your time and make sure to blend in the corrections seamlessly with the rest of the artwork.
Achieve the perfect wood finish
In conclusion, we have explored the process of creating a glossy or matte finish on wooden artwork. We learned that proper preparation is crucial to achieving a professional-looking result. This includes sanding the wood, filling any imperfections, and cleaning the surface thoroughly. Additionally, choosing the right finish type, whether it be glossy or matte, is essential in achieving the desired look. Finally, ensuring a clean and smooth surface throughout the application process will greatly contribute to the final outcome. By following these steps, you can confidently create a stunning finish on your wooden artwork. Happy creating!
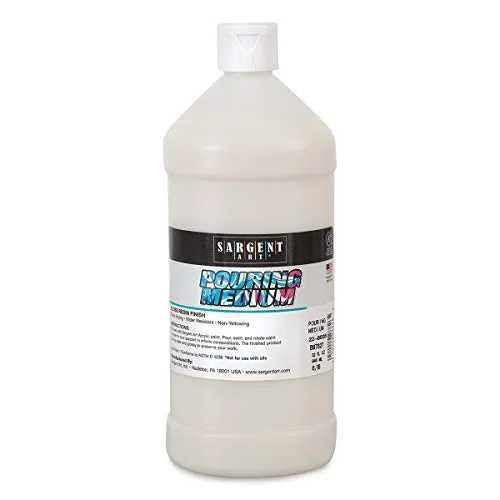
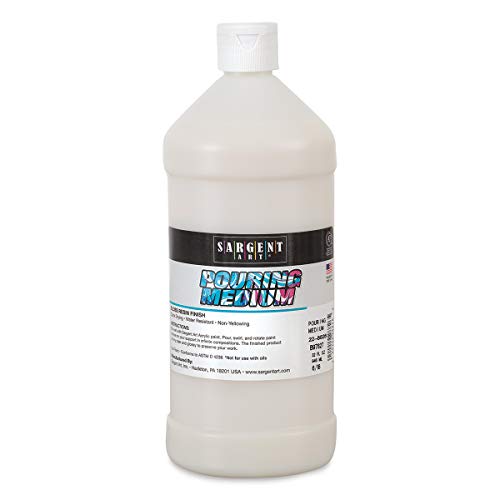
Necessary Supplies

Achieving the Perfect Touch
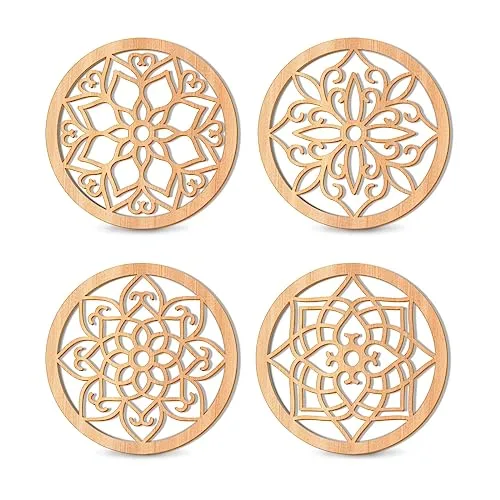
Step-by-step guide to unlock the beauty of handcrafted wooden art
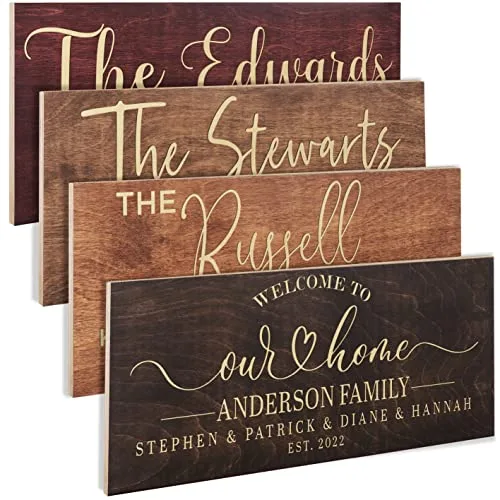
- Display it as a centerpiece: Place your handcrafted wooden art on a table or shelf to create an eye-catching centerpiece in your living room, bedroom, or any other space in your home. This will instantly add a touch of elegance and uniqueness to your decor
- Hang it on the wall: If you have a larger piece of handcrafted wooden art, consider hanging it on the wall as a focal point. This can be done in your living room, hallway, or even in your office. Make sure to use appropriate hanging hardware to ensure it is secure
- Use it as a serving tray: Some handcrafted wooden art pieces can double as functional items, such as serving trays. You can use them to serve drinks, snacks, or even as a base for a decorative arrangement of candles or flowers. Just make sure to protect the wood with a food-safe sealant if you plan on using it for serving food
- Incorporate it into your table setting: For smaller handcrafted wooden art pieces, consider using them as part of your table setting. Place them as decorative coasters, under a vase or centerpiece, or even as unique place card holders. This adds a touch of charm and rustic elegance to your dining experience
- Give it as a thoughtful gift: Handcrafted wooden art makes a fantastic gift for family, friends, or loved ones. Consider giving it for birthdays, anniversaries, housewarmings, or any special occasion. The recipient will appreciate the beauty and craftsmanship of the piece, knowing it was made with care
- Remember, the possibilities are endless when it comes to incorporating handcrafted wooden art into your life. Feel free to get creative and experiment with different ways to showcase and enjoy these unique pieces!
Answers to your burning questions about our handcrafted wooden art
How can someone differentiate between high-quality handcrafted wooden art and mass-produced imitations?
When it comes to differentiating between high-quality handcrafted wooden art and mass-produced imitations, there are a few key factors to consider. Let us walk you through them:
- Attention to Detail: Handcrafted wooden art often exhibits exquisite attention to detail. Look for intricate carvings, delicate inlays, and precise joinery. Each piece should showcase the craftsmanship and skill of the artist.
- Unique Characteristics: Handcrafted pieces often possess unique characteristics that set them apart from mass-produced imitations. These could include subtle variations in color, grain pattern, or even slight imperfections that add to the charm and authenticity of the artwork.
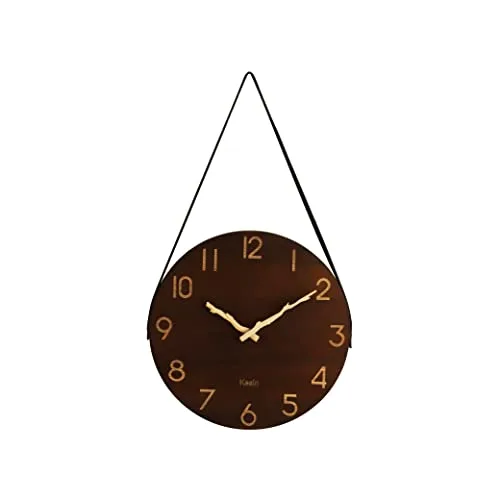
- Materials: Pay attention to the materials used in the artwork. High-quality handcrafted wooden art often utilizes premium-grade woods, such as solid hardwoods or exotic varieties. The choice of materials can greatly influence the overall quality and durability of the piece.
- Finish and Surface Texture: Handcrafted pieces tend to have a distinct finish and surface texture. Look for smooth, hand-polished surfaces that reveal the natural beauty of the wood. Mass-produced imitations may have a more uniform and machine-made appearance.
- Price and Reputation: Although not foolproof, price can sometimes be an indicator of quality. Handcrafted wooden art is typically priced higher due to the time, effort, and skill involved. Additionally, consider the reputation of the artist or the seller. Established artisans or reputable galleries often have a track record of producing and selling high-quality, authentic pieces.
What are the advantages of owning handcrafted wooden art pieces?
When it comes to owning handcrafted wooden art pieces, there are several advantages that we can mention. Firstly, the uniqueness and individuality of each piece is a major advantage. Handcrafted wooden art pieces are created by skilled artisans who give their personal touch to each creation, ensuring that no two pieces are exactly the same. This makes owning such artwork a truly special and one-of-a-kind experience.
Secondly, the craftsmanship and attention to detail that goes into handcrafted wooden art pieces is exceptional. These pieces are often made using traditional techniques that have been passed down through generations, resulting in a level of quality that is hard to replicate with mass-produced items. The use of high-quality materials and the hands-on approach of the artisans contribute to the overall durability and longevity of these art pieces.
Furthermore, owning handcrafted wooden art pieces allows you to support local artisans and their communities. By purchasing their artwork, you are directly contributing to their livelihoods and helping to preserve traditional craftsmanship. This can be a rewarding feeling, knowing that you are supporting the artisans and their craft.
Another advantage of owning handcrafted wooden art pieces is the aesthetic appeal and natural beauty they bring to your living space. The warmth and richness of wood combined with the artistic design can enhance the overall ambiance of any room. Whether it’s a sculpture, a decorative bowl, or a piece of furniture, handcrafted wooden art pieces have the ability to bring a touch of elegance and sophistication to your home.
Lastly, handcrafted wooden art pieces often hold sentimental value. They can become cherished heirlooms that are passed down through generations, carrying with them stories and memories. The personal connection and emotional attachment to these pieces can make them even more valuable and meaningful to the owner.
In conclusion, the advantages of owning handcrafted wooden art pieces are their uniqueness, exceptional craftsmanship, support for local artisans, aesthetic appeal, and sentimental value. These factors combined make them a worthwhile investment and a true testament to the beauty of handcrafted artwork.


I followed this guide and achieved a beautiful glossy finish on my wooden artwork! It really brought out the natural grain and made the colors pop. Thanks for the helpful instructions!
You’re welcome! I’m glad the guide helped you achieve the glossy finish you were looking for. It’s always satisfying to see the natural beauty of the wood enhanced with a glossy finish.
I’m a beginner in handcrafted wooden art, so I have a question about step 5. How fine should the sandpaper be for sanding the finish?
I’ve found that using a brush instead of a cloth to apply the finish can give a smoother glossy finish. It takes a bit more time and effort, but the results are worth it!
I really enjoyed following this guide, but I decided to experiment a bit and added a metallic paint layer under the glossy finish. It turned out amazing and gave the artwork a unique touch!
That sounds like a fantastic variation! Adding a metallic paint layer can really take the artwork to the next level. Thanks for sharing your creative twist on the guide.
If you want to add some depth and character to your wooden artwork, try using a wood stain before applying the finish. It can give the piece a richer and more unique look.
That’s a great suggestion! Adding a wood stain can definitely enhance the overall appearance of the artwork. Thanks for sharing your tip.
I’ve found that using a foam brush instead of a regular brush or cloth for applying the finish gives a more even and streak-free result. It’s also easier to control the amount of product being applied.
Using a foam brush is a great idea! It can definitely help achieve a smoother and more consistent finish. Thanks for sharing your tip.
I tried following the guide, but I’m having trouble with the finish not adhering properly. It keeps bubbling and peeling off. Any suggestions on what might be causing this?
For a matte finish, I like to use a satin varnish instead of a matte varnish. It still gives a nice low sheen, but it’s a bit easier to apply and gives a more durable finish.