How to design custom engraved wooden signs?
Sure! Custom engraved wooden signs are a unique and personalized way to showcase your creativity and add a touch of elegance to any space. In our step-by-step guide, we will walk you through the process of designing these beautiful signs, from selecting the right wood to the final finishing touches.
Now, for the crazy fact: Did you know that wooden signs have been used for centuries, dating back to ancient Egypt? It’s fascinating to think that this traditional art form still continues to captivate us today. So let’s dive in and discover how to create your very own custom engraved wooden signs!
Quality Craftsmanship for Personalized Wood Signs


Gathering Materials
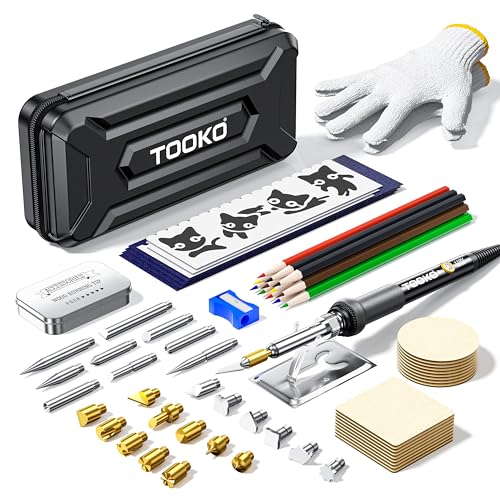
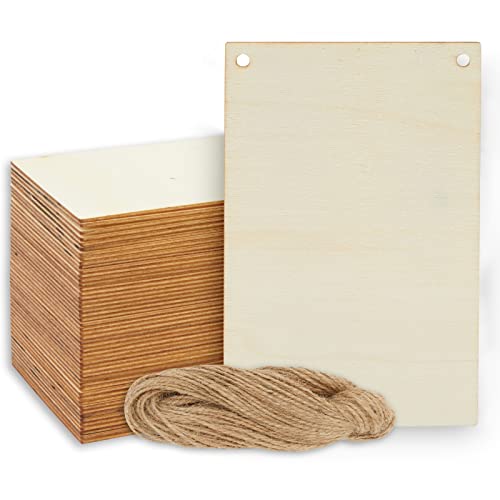
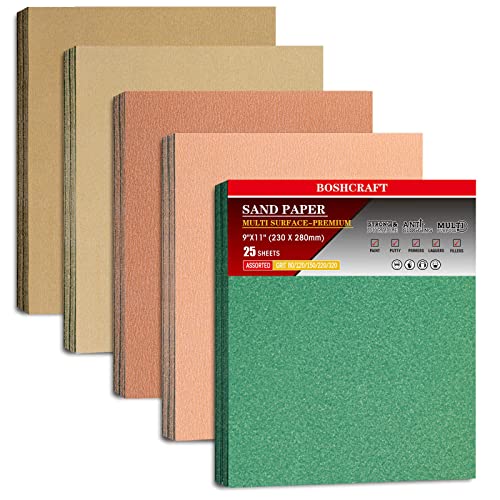
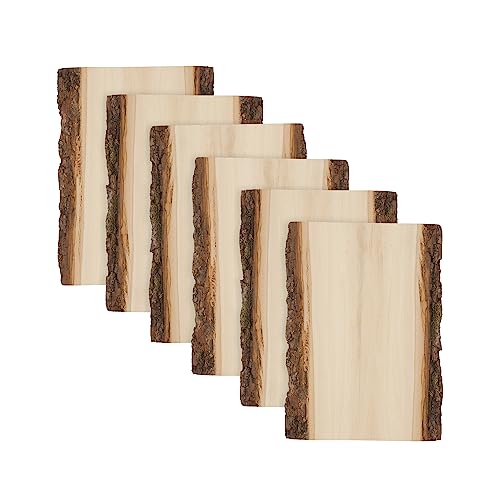
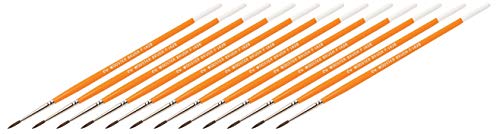
To gather all the necessary materials for designing custom engraved wooden signs, start by collecting wood boards, carving tools, sandpaper, paint or stain, brushes, and protective equipment like gloves and goggles. Begin by acquiring the desired wood boards and selecting the appropriate carving tools for your design. Next, gather sandpaper to smooth out the wood surface, and paint or stain along with brushes for adding color or finishing touches. Finally, don’t forget to prioritize safety by obtaining protective equipment like gloves and goggles to ensure a safe and enjoyable crafting experience.

Designing the Sign
To design your custom engraved wooden sign, follow these steps:
- Decide on the design: Consider the overall look and feel you want for your sign. Think about the purpose of the sign and the message you want to convey. Do you want a rustic or modern design? Will it be for a business or personal use? Take some time to brainstorm and gather inspiration before moving on to the next step.
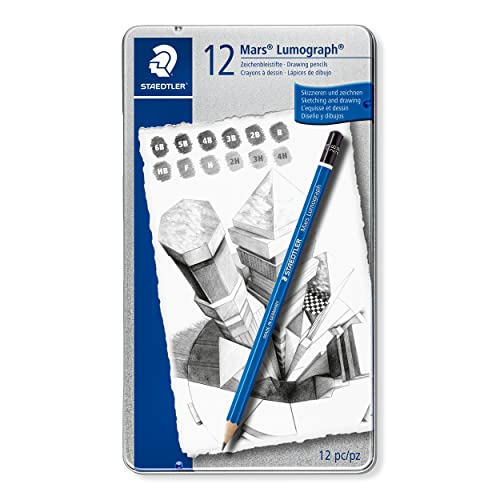
- Sketch it out: Grab a piece of paper and a pencil, and start sketching your design. This will help you visualize how the elements will come together. Don’t worry about making it perfect; this is just a rough draft. If you’re more comfortable using design software, you can create a digital mockup instead. There are plenty of free online tools available for this purpose.
- Consider the size, font, and decorative elements: Think about how big you want your sign to be. Will it be an eye-catching statement piece, or a smaller, more subtle accent? Next, choose a font that suits the style and message of your sign. There are countless options to choose from, so feel free to experiment with different fonts to find the perfect one. Finally, consider any decorative elements you want to include, such as borders, illustrations, or symbols. These can add a personal touch and enhance the overall design.
Remember, designing a sign is a creative process, so don’t be afraid to try different ideas and iterate on your design until you’re satisfied. Once you have a clear vision of your sign, you’ll be ready to move on to the next steps in bringing it to life.
Preparing the Wood
To prepare the wooden board, start by sanding it thoroughly. Use sandpaper to create a smooth surface, ensuring that you remove any rough edges or imperfections. After sanding, remember to wipe away any dust or debris from the board before moving on to the next step.


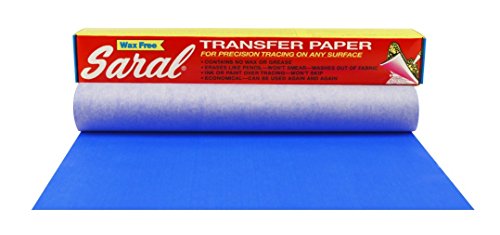
Transferring the Design
To transfer the design onto the wooden board, you will need transfer paper, carbon paper, or a pencil. First, place the design on top of the wood and secure it in place. Next, place the transfer paper, carbon paper, or use a pencil to trace over the design, ensuring that your strokes are firm enough to leave a visible mark on the wood. Make sure to center and align the design properly before starting the tracing process. This will ensure that your final result is accurate and well-balanced.
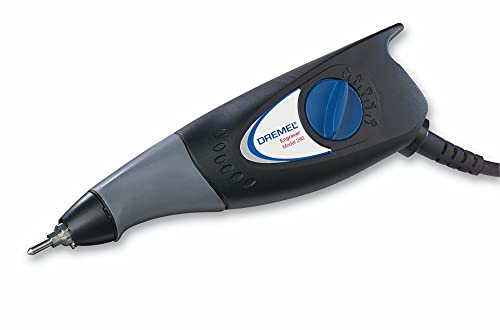
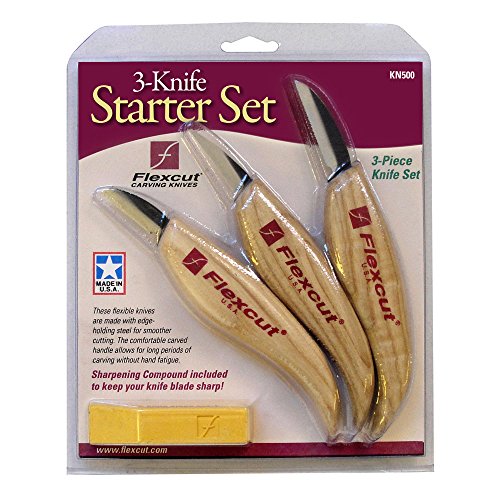
Carving the Design
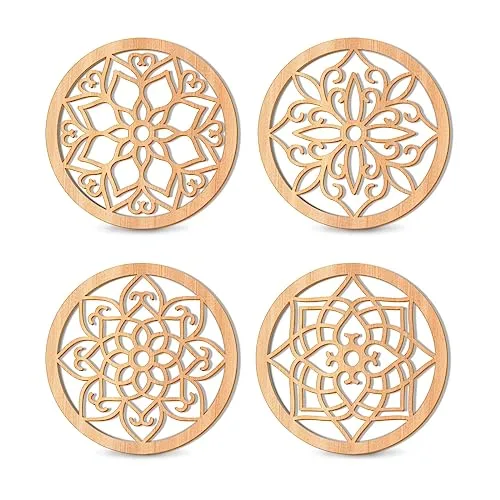
To carve the design into the wooden board, we need to use carving tools. Begin by making shallow cuts along the outline of the design. As you progress, gradually deepen the cuts to achieve the desired depth. It’s important to take your time and pay attention to the details, ensuring that each cut is precise and clean. For instance, if you are carving a flower, start by outlining the petals with shallow cuts, and then gradually deepen them to create dimension and shape. Remember, patience and attention to detail are key to achieving a beautifully carved design.
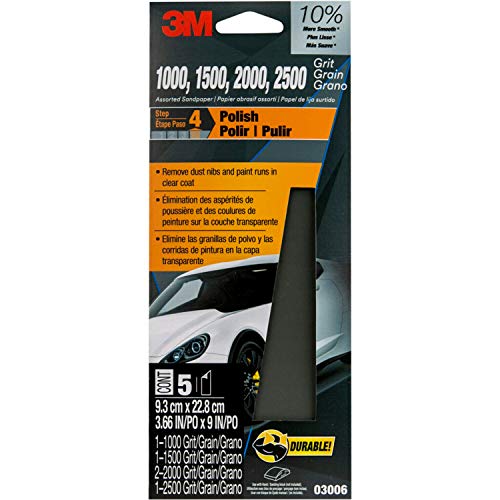
Sanding and Smoothing
To achieve a smooth and polished finish on your carved piece, start by sanding the engraved areas. Use finer grit sandpaper to gently smooth out any rough edges or imperfections. Remember to wipe away any dust before proceeding to the next step. This will ensure a clean and flawless surface for your final product.
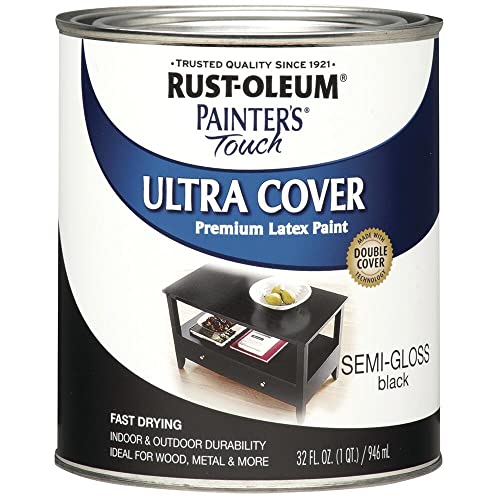
Applying Paint or Stain
- Choose desired paint or stain colors that complement the wood and the overall aesthetic of your project.
- Apply the paint or stain to enhance the engraved design, using a brush or sponge.
- Apply multiple coats if needed, allowing each coat to dry completely before applying the next.
- Use smooth, even strokes to ensure an even application of paint or stain.
- Allow the final coat to dry thoroughly before handling or displaying your finished project.
Remember to follow the manufacturer’s instructions regarding drying times and any additional steps required for the specific paint or stain you are using. Enjoy the process of adding color and enhancing the beauty of your engraved design!
Protective Finish
To protect the wooden sign and enhance its longevity, apply a protective finish. Choose from options like varnish, lacquer, or polyurethane. Start by ensuring the surface of the sign is clean and dry. Then, using a brush or foam applicator, evenly apply the protective finish, following the direction of the wood grain. Allow the finish to dry completely before applying additional coats, if desired. Remember to consult the manufacturer’s instructions for specific application and drying times.
Finishing Touches
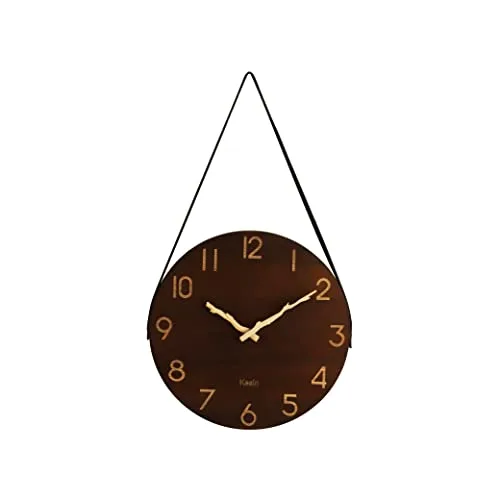
To inspect the sign for any touch-ups or final adjustments, check that the design is crisp and the surface is smooth. If there are any imperfections, fix them with a fine brush or sandpaper. Next, clean up any excess paint or stain by wiping it away with a cloth or using a scraper. Finally, if desired, add any additional decorative elements such as hanging hooks or a protective backboard.
Expert Tips and Final Thoughts
In conclusion, designing custom engraved wooden signs is a creative and rewarding process that allows you to express your unique style and personality. By following the steps we have outlined, you can confidently create beautiful and personalized wooden signs that will make a statement in any space. Remember, it’s all about gathering the right materials, honing your design skills, and carefully executing each step to achieve a professional-looking result. So go ahead, unleash your creativity and start designing your own custom engraved wooden signs today!
Essential Supplies
Mastering the Craft
Get Creative with Custom Engraved Wooden Signs
- Choose a suitable location: Decide where you want to display your custom engraved wooden sign. It could be indoors, such as on a wall or shelf, or outdoors, like on a garden fence or porch
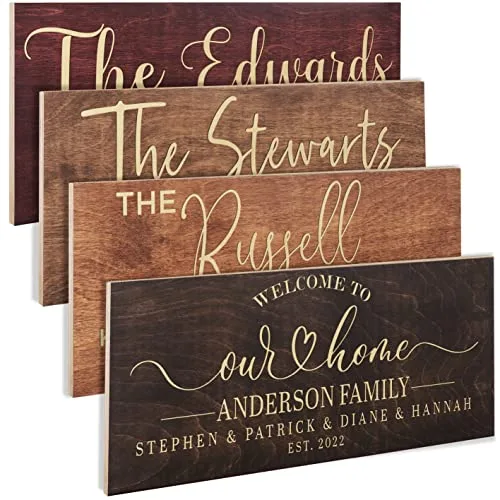
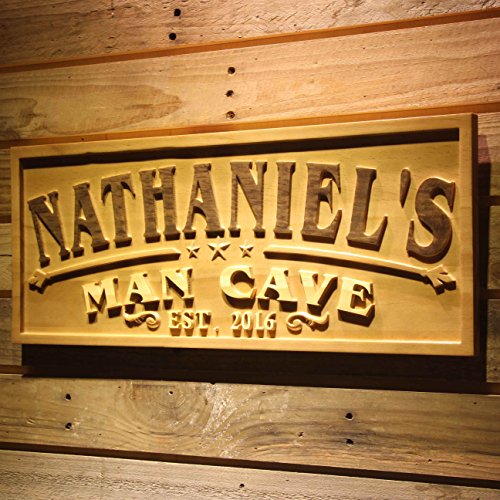
- Determine the purpose: Think about what message or information you want your custom engraved wooden sign to convey. It could be a welcome sign, a directional sign, or a personalized nameplate. Knowing the purpose will help you design and customize the sign accordingly
- Select the design and text: Consider the style and font that best suits your taste and matches the overall aesthetic of your space. You can choose from various designs, including rustic, modern, or vintage. Decide on the text you want to be engraved, whether it’s a simple phrase, a quote, or your family name
- Personalize the sign: If you want to add a personal touch, you can request additional customization options such as adding a logo, a family crest, or other graphics. This will make your custom engraved wooden sign truly unique and special
- Install or display the sign: Once you receive your custom engraved wooden sign, carefully follow the installation instructions provided. It might involve hanging the sign using screws or nails, attaching it to a stand, or using adhesive hooks. Make sure it is secure and visible for everyone to appreciate
- Remember, the beauty of custom engraved wooden signs lies in their ability to add a personal touch to any space, whether it’s your home, office, or a special event. Enjoy the process of creating and using your custom sign, and feel free to reach out if you have any further questions or need assistance!
Frequently Asked Questions about Custom Engraved Wooden Signs
Are these signs suitable for both indoor and outdoor use?
Yes, these signs are suitable for both indoor and outdoor use. They are made from durable materials that can withstand various weather conditions and are resistant to fading, moisture, and UV rays. Whether you need them for a storefront, office, or outdoor event, these signs are designed to be versatile and long-lasting.

In the ‘Sanding and Smoothing’ step, do you have any tips for achieving a perfectly smooth finish? I always struggle with getting rid of visible sanding marks.
Achieving a smooth finish can be a bit tricky, but here are a few tips. Start with a coarse-grit sandpaper to remove any major imperfections, then gradually work your way up to a finer grit to smooth out the surface. Use a sanding block or sanding sponge to ensure even pressure and minimize visible sanding marks. Additionally, consider wet sanding for an extra smooth result. I hope these tips help!
I’m thinking of starting a small side business making custom engraved wooden signs. Can you recommend any specific carving tools that work well for beginners?
Starting a small business making custom engraved wooden signs sounds exciting! For beginners, I recommend using a basic set of carving tools that includes a V-gouge, a straight chisel, and a carving knife. These tools will allow you to create a variety of designs and details. As you gain more experience, you can expand your tool collection based on your specific needs.
I’ve been making custom engraved wooden signs for a while now, and this guide has been a valuable resource. I appreciate the emphasis on the protective finish step to ensure the longevity of the sign. It can make a big difference in preserving the wood and design. Great guide!
Thank you for your feedback! I’m glad you found the guide valuable. Indeed, applying a protective finish is essential for keeping the sign in good condition over time. If you have any additional tips or experiences to share with the community, please feel free to do so!
I recently started a small business making custom engraved wooden signs, and this guide has been a lifesaver! The tips on designing and transferring the design were especially useful. Thank you!
That’s fantastic to hear! I’m glad the guide has been helpful for your business. Designing and transferring the design accurately are crucial steps to ensure a professional-looking sign. If you have any specific questions or need further assistance, feel free to ask!
This guide was great! Could you write a follow-up article on how to add gold leaf accents to custom engraved wooden signs? I think it would add a luxurious touch to the finished pieces.
I followed your guide step by step, but my carved design didn’t turn out as crisp and detailed as I was hoping. Do you have any suggestions for troubleshooting or improving the carving process?
I’m sorry to hear that your carved design didn’t turn out as expected. Achieving crisp and detailed carvings can take some practice. Here are a few troubleshooting tips: make sure your carving tools are sharp, take your time and work slowly, and practice on scrap wood before attempting the final design. If you provide more specific details about the issues you faced, I can offer more targeted advice.
I found this guide really helpful for gathering materials. I never realized there were so many options for wood types and carving tools. Can you recommend a specific type of wood that works well for custom engraved signs?
I followed this guide to create a custom engraved wooden sign for my friend’s wedding gift, and it turned out beautifully! The step-by-step instructions were clear and easy to follow. Highly recommend!
Thank you for sharing your success story! It’s wonderful to hear that the guide helped you create a special wedding gift. If you have any photos or specific details you’d like to share, I’m sure others would love to see your finished sign!
I’m glad you found the guide helpful! For custom engraved signs, a popular wood choice is cedar. It’s durable, has a beautiful grain pattern, and engraves well. Other good options include oak and maple. It ultimately depends on your preference and the look you want to achieve.