What are some common challenges faced by wood carvers and how can they be overcome?
Wood carving is a beautiful and intricate art form that has captivated people for centuries. The ability to transform a simple piece of wood into a work of art is truly remarkable. However, like any artistic pursuit, wood carving comes with its fair share of challenges. As fellow enthusiasts, we understand the frustrations and obstacles that wood carvers face on their creative journey. That’s why we have put together this blog post – to shed light on some of the common challenges faced by wood carvers and offer practical solutions to overcome them. Whether you’re a beginner or a seasoned carver, we hope that these insights will help you navigate the hurdles and continue to pursue your passion for wood carving with confidence and joy. So, let’s dive in and explore how we can tackle these challenges together!
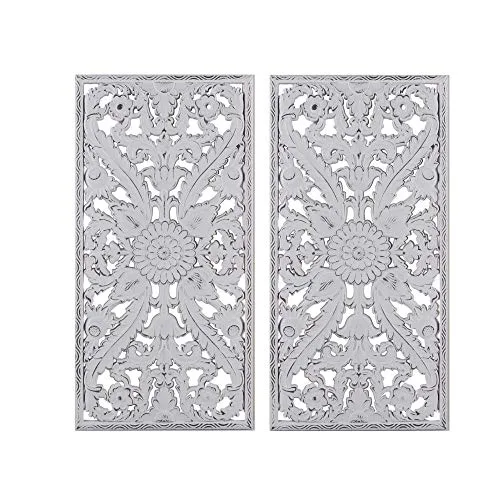
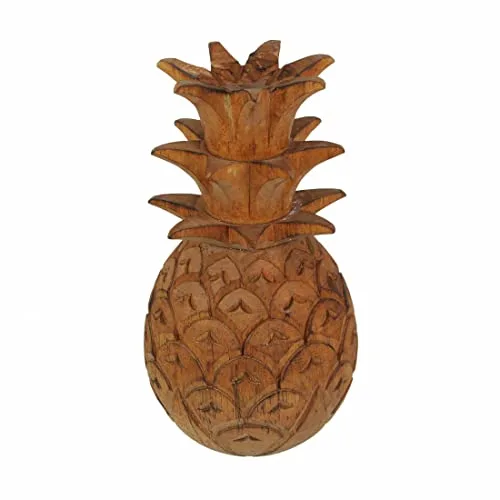
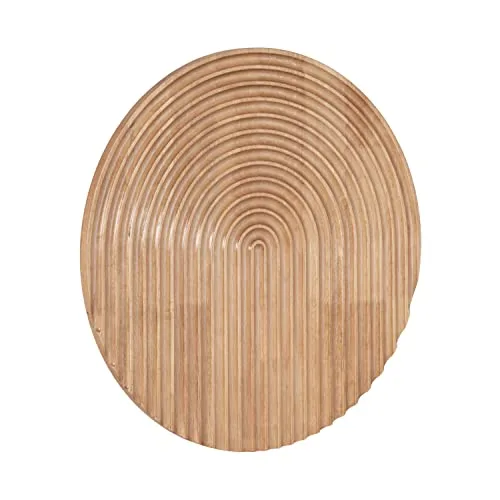
Discover the Finest Wood Carving Masterpieces that Capture the Imagination
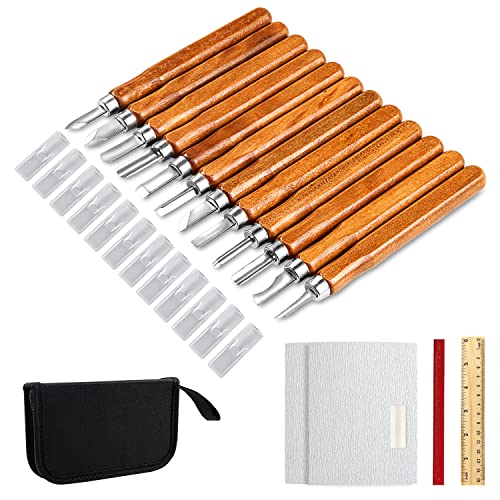
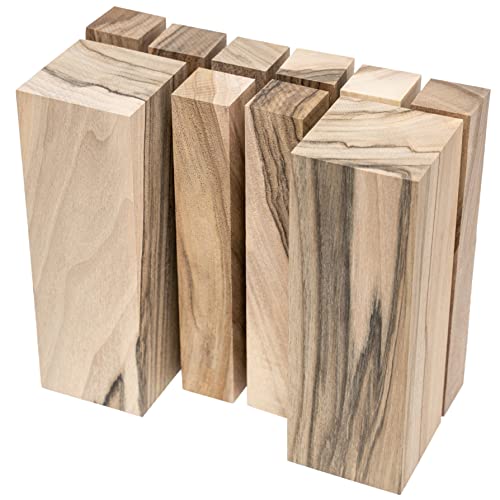
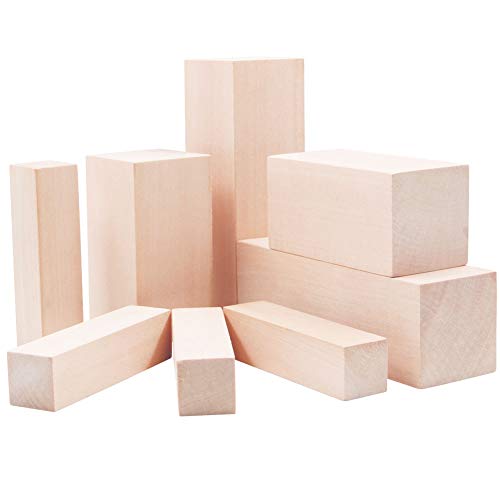
Common Challenge 1: Finding Suitable Wood
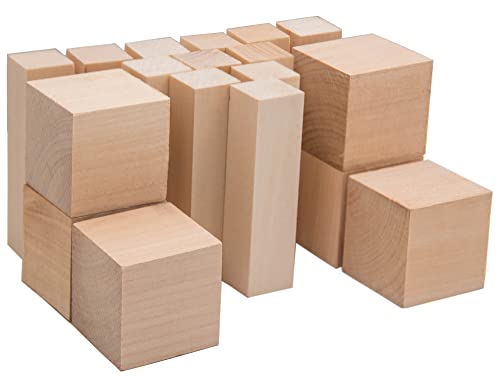
Wood carving is a beautiful and intricate art form that has been practiced for centuries. Whether you’re a seasoned wood carver or just starting out, one of the common challenges you may face is finding suitable wood for your projects. In this blog, we will explore the difficulties wood carvers encounter when sourcing wood and provide tips on how to select the right type of wood for your carving needs.

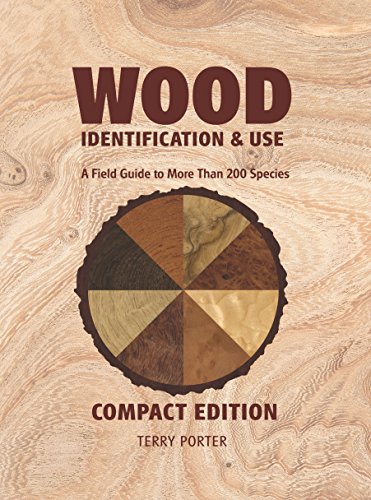
The Importance of Selecting the Right Type of Wood
Choosing the right type of wood is crucial for the success of your wood carving project. Different woods have varying characteristics that can significantly impact the carving process and the final outcome of your work. Here are a few key factors to consider when selecting wood for your carving projects:
- Density: The density of the wood affects its hardness and ease of carving. Softer woods like basswood and pine are popular choices for beginners due to their ease of carving, whereas harder woods like oak and mahogany offer more durability and intricate detail.
- Grain: The grain pattern of a wood species can add depth and visual interest to your carvings. Some carvers prefer straight-grained wood for clean lines and smooth finishes, while others may opt for woods with more pronounced grain patterns to enhance their artistic expression.
- Stability: Wood can expand or contract with changes in humidity and temperature. It is essential to select wood that is stable and less prone to warping or cracking, especially if your carving requires intricate details or thin sections.
- Availability: The availability of wood species can vary depending on your location. While some woods may be readily available in one region, they may be scarce in another. Considering the availability of wood is crucial, particularly if you are working on a large project or need a specific type of wood.
Tips for Sourcing Quality Wood
Now that we understand the importance of selecting the right wood, let’s explore some tips for finding quality wood for your carving projects:
- Local Wood Suppliers: Start by researching local wood suppliers in your area. These suppliers often have a wide selection of wood species and can provide valuable insights and recommendations based on your specific needs.
- Specialty Wood Stores: Specialty wood stores cater to woodworkers and wood carvers, offering a broader range of wood species and cuts. These stores often have knowledgeable staff who can guide you in selecting the best wood for your project.
- Online Wood Retailers: The internet has made it easier than ever to find and purchase wood for your carving needs. Online wood retailers offer a vast selection of wood species, and many provide detailed descriptions and images to help you make an informed decision.
- Woodworking Associations and Forums: Engaging with local woodworking associations or online forums can connect you with experienced wood carvers who can share their knowledge and recommend reputable wood suppliers.
- Woodworking Shows and Exhibitions: Attending woodworking shows and exhibitions can give you the opportunity to see and feel different types of wood in person. You can also network with fellow woodworkers and gain valuable insights into the best wood sources.
Remember, experimentation and personal preference play a significant role in finding the right wood for your carving projects. It’s always a good idea to test different wood species on small projects before committing to larger, more intricate works.
In Conclusion
Finding suitable wood for your wood carving projects can be a challenging task, but with the right knowledge and resources, you can overcome this obstacle. Understanding the importance of selecting the right type of wood, considering factors such as density, grain, stability, and availability, and exploring various sourcing options will help you find quality wood that enhances your carving experience and brings your artistic vision to life.
Happy carving!
Common Challenge 2: Dealing with Grain and Knots
Wood carving is a beautiful and intricate art form that requires skill, patience, and a deep understanding of the medium. One of the common challenges that wood carvers encounter is working with wood grain and knots. In this blog section, we will explore the difficulties posed by grain and knots, and provide you with techniques and strategies to overcome them. By the end of this article, you’ll have a better understanding of how to navigate through these challenges and create stunning wood carvings.

Understanding Wood Grain
Wood grain refers to the pattern or texture that appears on the surface of wood. It is formed by the growth rings of a tree and can vary greatly depending on the species and how the wood was cut. While grain adds character and beauty to a carving, it can also present challenges.
Challenge 1: Tear-Out
One of the primary difficulties wood carvers face when working with grain is tear-out. Tear-out occurs when the carving tool catches the fibers of the wood grain, causing them to tear instead of cleanly cutting through. This can ruin the surface of your carving and lead to frustration.
Technique: Go with the Grain
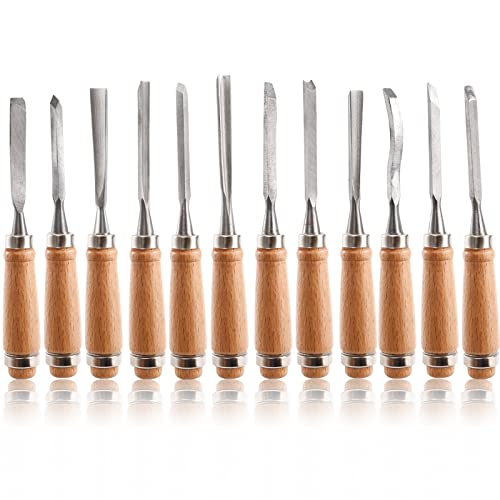
To minimize tear-out, it’s important to go with the grain when carving. By carving in the same direction as the wood fibers, you can avoid tearing them. This may require adjusting your carving technique and angle of approach. It can also be helpful to use a sharp tool that is appropriate for the hardness of the wood you are working with. For example, a chisel with a steep bevel angle may be more effective for carving against difficult grain.
Working with Knots
Knots are areas in wood where branches once grew. They can add visual interest to a carving but present challenges due to their density and irregularity.
Challenge 2: Knots are Harder and Denser
Knots are often harder and denser than the surrounding wood, making them more difficult to carve. Carving through a knot requires extra effort and can quickly dull your tools if you’re not careful.
Technique: Use the Right Tools
When working with knots, it’s crucial to use the appropriate tools. Hardened steel or carbide-tipped tools are more resilient and can withstand the extra strain caused by carving through knots. Additionally, sharpening your tools regularly will help maintain their effectiveness.
Challenge 3: Unpredictable Grain Direction
Knots can also cause the grain to change direction abruptly, leading to tear-out and other carving challenges.
Technique: Plan and Adjust
To overcome this challenge, it’s important to plan your carving process, taking into account the presence of knots. Start by mapping out the knots and grain direction on your wood surface. Adjust your carving technique accordingly, making small cuts and adjusting the angle of your tools to navigate around knots and maintain control over the grain. This careful planning and adjustment will help you maintain the integrity of your carving and achieve the desired result.
Common Challenge 3: Preventing Wood Splitting
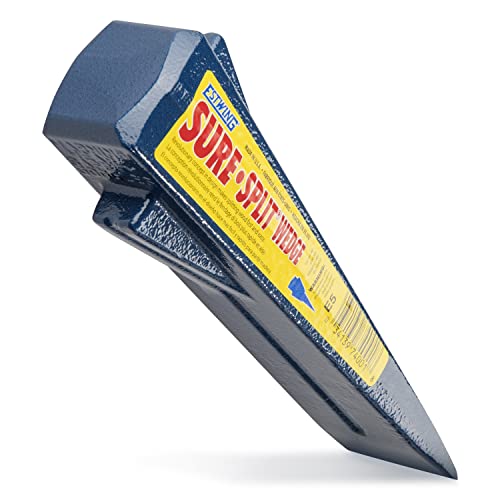
Wood carving can be a rewarding and creative hobby, but it comes with its fair share of challenges. One common issue that many beginners and even experienced carvers face is wood splitting. Nothing can be more frustrating than spending hours working on a piece only to have it split apart. But fear not! In this blog post, we will explore some effective ways to prevent wood splitting during the carving process.
Proper Wood Preparation
Before diving into the actual carving, it’s crucial to prepare your wood properly. Here are a few tips to ensure the wood is ready for the carving process:
- Choose the right type of wood: Different wood species have different characteristics, and some are more prone to splitting than others. So, selecting the right wood for your project is essential. Woods like basswood, butternut, and mahogany are known for their stability and are less likely to split.
- Dry your wood: Moisture content in wood plays a significant role in preventing splitting. Ensure your wood is properly dried before starting your carving project. Air-drying or kiln-drying are common methods to remove moisture. Aim for a moisture content of around 6-8%.
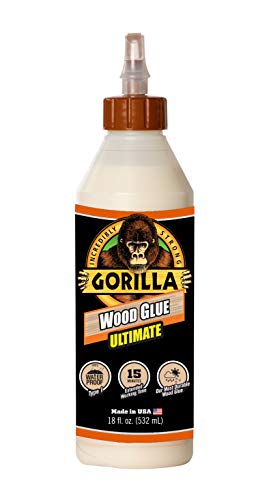
- Seal the ends of the wood: The ends of the wood are more prone to splitting due to uneven drying. Applying a wood sealer or a mixture of water and glue to the ends of the wood helps slow down the drying process and minimizes splitting.
Carving Techniques
Now that your wood is well-prepared, let’s focus on some carving techniques that can help prevent splitting:
- Go with the grain: Carving along the grain of the wood reduces the likelihood of splitting. Identify the direction of the grain and follow it while carving. Carving against the grain puts more stress on the wood fibers and increases the chances of splitting.
- Take your time: Rushing through the carving process can increase the risk of splitting. Take it slow and steady, allowing the wood fibers to adjust to the carving gradually. This helps minimize the stress on the wood and reduces the likelihood of splitting.
- Avoid carving too thin: Thin and delicate areas in your carving are more susceptible to splitting. Be mindful of the thickness of the wood and avoid overly thin sections. Reinforce delicate areas with supportive elements or thicker pieces to add strength and stability.
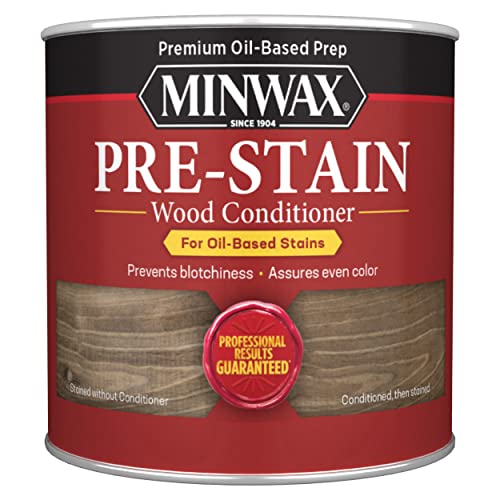
Wood Stabilizers
In some cases, despite taking all the precautions, wood splitting can still occur. That’s where wood stabilizers come into play. These products penetrate the wood fibers, harden them, and provide added strength and stability. Here are a few popular wood stabilizers on the market:
- Minwax Wood Hardener: This product is specifically designed to strengthen and stabilize rotted and damaged wood. It can be applied with a brush or sprayed onto the wood, and it hardens within a few hours, providing a solid base for your carving.
- System Three Wood Stabilizer: This two-part epoxy-based stabilizer is highly effective in preventing wood splitting. It seeps into the wood, hardens, and strengthens it while also preventing further decay.
- TotalBoat Penetrating Epoxy: Ideal for stabilizing wood that is highly prone to splitting, this epoxy sealer penetrates deep into the wood, providing exceptional protection against splitting and other forms of wood damage.
Using a wood stabilizer can be a game-changer when it comes to preventing wood splitting, especially for intricate or delicate carvings.
Overcoming obstacles: Techniques and tips for wood carvers to thrive
In conclusion, we have explored several common challenges faced by wood carvers and discussed effective ways to overcome them. From selecting the right wood to dealing with grain direction and managing tools, we understand the frustrations that can arise. However, we encourage wood carvers to persevere and not be discouraged by these challenges. Continuous practice and learning are key to improving skills and mastering the art of wood carving. With dedication and determination, wood carvers can overcome any obstacle and create beautiful works of art. So, let’s embrace these challenges as opportunities for growth and let our creativity flourish. Happy carving!


I have found that the challenge of finding suitable wood can be overcome by building relationships with local suppliers. They often have a variety of wood options and can provide guidance on which type of wood would be best for a specific carving project.
That’s a great point! Building relationships with local suppliers can definitely help in finding suitable wood. They have the expertise and knowledge to guide wood carvers in selecting the right wood for their projects. It’s always beneficial to have a reliable source for quality wood.
I’ve been carving wood for many years and one tip I can share is to use a moisture meter to check the moisture content of the wood before carving. Carving wet or overly dry wood can lead to splitting. By ensuring the wood is properly seasoned, you can prevent splitting and save a lot of time and effort.
Thanks for sharing your tip! Using a moisture meter to check the moisture content of the wood is a great practice. It’s important to work with properly seasoned wood to minimize the risk of splitting. This can save wood carvers from potential frustrations and ensure the longevity of their carvings. Seasoned wood is definitely the way to go!
I recently started wood carving as a hobby and I’ve been struggling with dealing with grain and knots. Does anyone have any tips or techniques to minimize the impact of grain and knots on the final carving?
Grain and knots can indeed pose a challenge in wood carving. One technique to minimize their impact is to carefully plan your design to work with the grain and knots, rather than against them. Additionally, using sharp tools and making small, controlled cuts can help in navigating through the wood grain and knots. It would be great to hear from experienced carvers about their techniques as well!