How to Display and Hang Your Wood Art Decor
In our step-by-step guide, “How to Display and Hang Your Wood Art Decor,” we will take you through the process of showcasing your beautiful wood art decor. Whether you have just purchased a new piece or are looking to rearrange your existing collection, this guide will provide you with the necessary steps to ensure your wood art decor is displayed and hung in the most visually appealing and secure manner possible. Let’s get started!
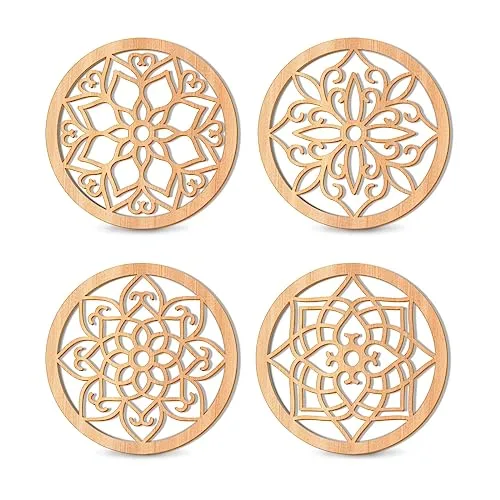
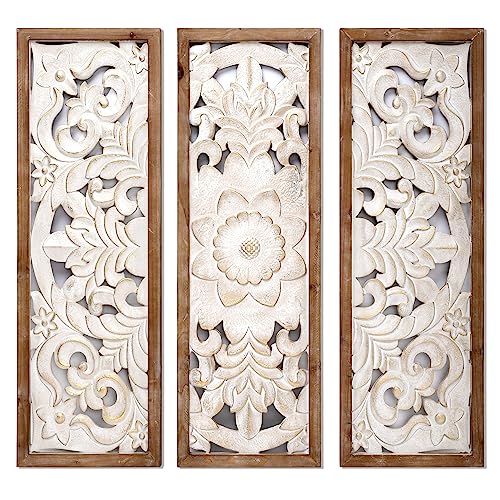
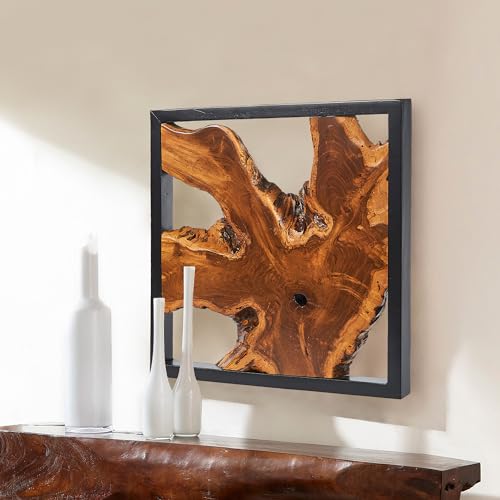
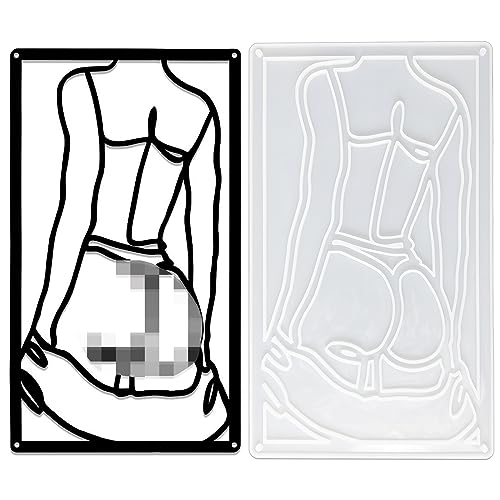
Top-Selling Wood Art Decor Picks

Choose the Right Wall
To find a suitable wall for displaying your wood art decor, start by considering factors like visibility, lighting, and the overall aesthetic of the room. Look for a wall that is easily visible and not obstructed by furniture or other objects. Assess the lighting in the room to ensure the artwork will be well-lit and showcased effectively. Lastly, choose a wall that complements the overall aesthetic of the room, considering factors such as color scheme, style, and theme.
Measure the Space
To measure the dimensions of the wall and the wood art decor, follow these simple steps:
- Grab a measuring tape or ruler and make sure it is long enough to measure the entire length and height.
- Start by measuring the width of the wall, from one end to the other. Write down the measurement.
- Next, measure the height of the wall, from the floor to the ceiling. Record this measurement as well.
- Now, measure the width and height of the wood art decor. Take note of these measurements too.
By accurately measuring both the wall and the wood art decor, you can ensure a proper fit and avoid any issues during installation.
Prepare the Wall
To clean the wall surface, start by removing any dirt, dust, or existing decor. You can use a damp cloth or sponge to wipe down the wall, ensuring that it is free from any debris. If there are any holes or imperfections on the wall, patch them up using spackle or putty. Apply a small amount of the filler to the hole or crack, and then smooth it out using a putty knife. Allow the patch to dry completely before moving on to the next step.
Here is an example of how you can clean the wall surface and patch any imperfections:
- Clean the wall surface: Start by removing any decorations or objects from the wall. Use a damp cloth or sponge to wipe down the entire surface of the wall, removing any dirt or dust. Pay special attention to corners and edges.
- Patch any holes or imperfections: Inspect the wall for any holes or cracks. If you find any, use spackle or putty to fill them. Take a small amount of the filler and apply it to the hole or crack using a putty knife. Smooth it out, making sure it is level with the wall surface. Allow the patch to dry completely before proceeding.
By following these steps, you will ensure that your wall is clean and free from any imperfections, providing a smooth surface for the next steps in the wall preparation process.
Decide on Placement
To determine the desired placement of your wood art decor on the wall, start by assessing the height at which you want it to be displayed. Consider the balance of the room by ensuring that the artwork is not too high or too low. Take into account the overall layout of the room, such as the furniture arrangement and other wall decorations, to ensure a cohesive and visually pleasing display.
Mark the Wall
To mark the exact placement of your wood art decor on the wall, start by using a pencil or painter’s tape. First, hold up your wood art decor against the wall in the desired position. Then, carefully mark the top and bottom edges of the decor with a pencil, ensuring they are level. Alternatively, you can use painter’s tape to create a temporary guide by placing strips of tape along the edges of the decor. This will serve as a visual reference during the hanging process, helping you achieve perfect placement.
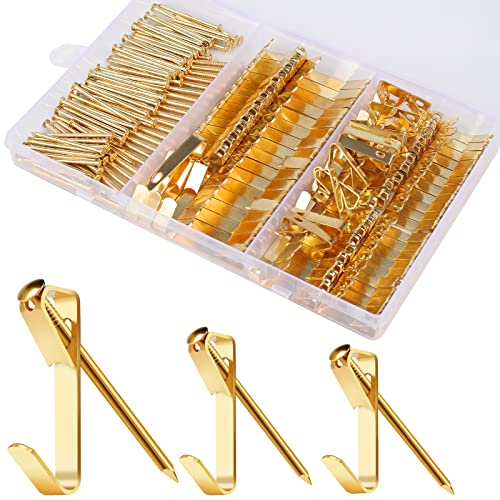
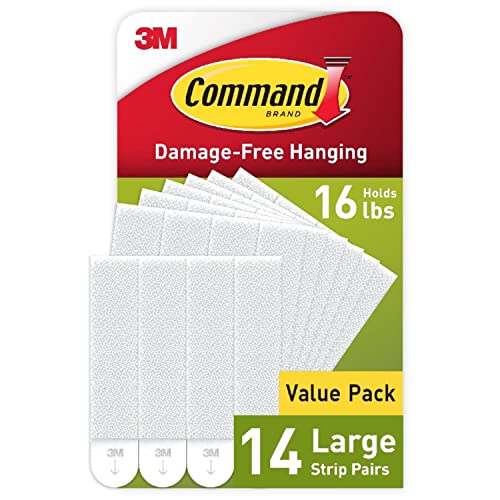
Choose Hanging Hardware
To select the appropriate hanging hardware for your wood art decor, consider the weight and size of the piece. Assess the weight of the artwork and choose a suitable hardware option such as picture hooks, wall anchors, or adhesive strips. Make sure to follow the manufacturer’s instructions and ensure the hardware is securely attached to the wall before hanging your artwork.
Install Hanging Hardware
To install hanging hardware, follow these steps:
- Step 1: Read and understand the manufacturer’s instructions for the specific hanging hardware you have chosen.
- Step 2: Mark the desired position on the wall where you want to hang your item.
- Step 3: Use a level to ensure that the marked position is straight.
- Step 4: Prepare the necessary tools, such as a drill and screws, based on the manufacturer’s recommendations.
- Step 5: Attach the hanging hardware securely to the wall, following the instructions provided. Make sure to use the recommended screws and anchors if necessary.
- Step 6: Double-check that the hardware is securely attached and level with the marked position.
- Step 7: Test the stability by gently applying pressure or pulling on the hardware to ensure it can hold the weight of the item you plan to hang.
For example, if you are installing a picture frame, you might use a picture wire and D-rings as the hanging hardware. In this case, you would follow the manufacturer’s instructions for attaching the D-rings to the back of the frame and then securely fastening the picture wire to the D-rings. Finally, you would hang the picture on the wall using appropriate screws or hooks.
Mount the Wood Art Decor
To mount your wood art decor, carefully hang it on the installed hanging hardware. Ensure that it is level by using a spirit level or by visually checking its alignment. If needed, make adjustments to achieve the desired position.
Check Stability and Alignment
To check the stability and alignment of your wood art decor, gently shake or tap it to ensure it is securely mounted. This will help you determine if it is properly attached to the wall. Additionally, compare its alignment with the marked position on the wall to ensure it is hung straight and level. By following these simple steps, you can ensure that your wood art decor is stable and perfectly aligned for an aesthetically pleasing display.
Enjoy Your Wood Art Decor
Step back and admire your beautifully displayed wood art decor. Ensure that it is positioned in a way that complements the room and draws attention to its unique features. Take the time to assess the overall balance and harmony of the arrangement, making any necessary adjustments to enhance its visual impact.
Final Tips and Recommendations
In conclusion, we have explored the essential steps to display and hang your wood art decor with precision and style. By carefully measuring your space, selecting the right placement, and ensuring secure hanging, you can create a stunning showcase for your wood art that enhances the beauty of your space. Remember, attention to detail is key, and taking the time to follow these guidelines will result in a visually pleasing and aesthetically balanced display. So go ahead, feel confident in showcasing your wood art decor, and let your creativity shine!
Essential Supplies


Easy DIY Solutions
Step-by-Step Guide to Mastering Wood Art Decor
- Choose the right piece: Start by selecting a wood art decor piece that resonates with your personal style and complements the overall aesthetic of your space. Look for something that speaks to you and enhances the ambiance you want to create
- Find the perfect spot: Once you have your wood art decor, consider where it will be most effective. Look for an empty wall or an area that needs a focal point. Experiment with different placements to find the perfect spot that showcases your piece and enhances the room’s overall design
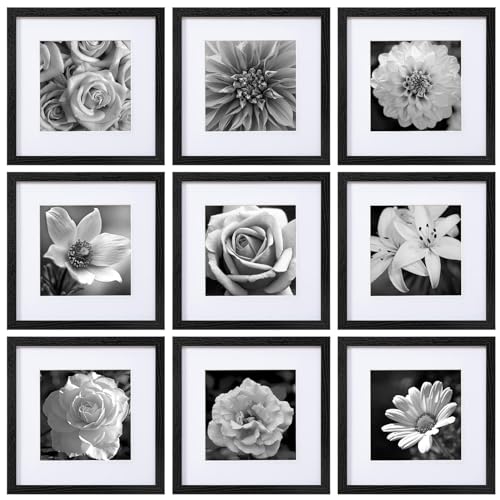
- Consider the size: Depending on the size of your wood art decor, you can decide whether it should be the main focal point or part of a larger gallery wall. Smaller pieces can be grouped together to create an eye-catching arrangement, while larger pieces can stand alone as a statement piece
- Pay attention to lighting: Proper lighting can significantly enhance the impact of your wood art decor. Consider the natural and artificial lighting in the room and place your piece accordingly. Experiment with different lighting angles and intensity to bring out the textures and details of the wood
- Mix and match: Don’t be afraid to mix your wood art decor with other types of artwork or decorative elements. Combining different textures, materials, and styles can create a visually interesting and eclectic look. Experiment with combining wood art with paintings, photographs, or even metal accents to add depth and contrast to your space
- Remember, wood art decor is all about personal expression and adding warmth and character to your home. Have fun with it and let your creativity shine!
Everything you need to know about our stunning wood art decor
What types of wood are commonly used in wood art decor?
When it comes to wood art decor, there are several types of wood that are commonly used. Some popular choices include:
- Oak: Known for its durability and beautiful grain patterns, oak is a versatile wood that can be used for various wood art pieces.
- Walnut: Walnut is highly prized for its rich, dark color and natural beauty. It is often used for intricate carvings and high-end wood art decor.
- Maple: With its light color and smooth texture, maple wood is favored for its clean and contemporary look. It is commonly used in modern wood art designs.
- Cherry: Cherry wood has a warm reddish-brown hue that deepens over time, making it a popular choice for creating elegant and timeless wood art decor.
- Mahogany: Mahogany is a hardwood that is prized for its deep, rich color and fine grain. It is often used for creating high-quality and luxurious wood art pieces.

I followed this guide to hang my wood art decor in my living room, and it turned out great! The step-by-step instructions were easy to follow, and I appreciated the tips on choosing the right wall and measuring the space beforehand. The guide helped me decide on the perfect placement for my decor and the hanging hardware recommended worked perfectly. I’m really happy with how it looks on my wall now. Thanks for the helpful guide!
The guide was very helpful, but I was wondering if you have any advanced tips for hanging larger and heavier wood art decor. I have a large piece that I’m a bit nervous about hanging securely. Any advice would be greatly appreciated!
Thank you for your question! Hanging larger and heavier wood art decor can be a bit more challenging, but there are a few advanced tips you can follow. Firstly, make sure to choose sturdy hanging hardware that is specifically designed for heavier objects. Additionally, consider using multiple hanging points to distribute the weight more evenly. If possible, it might be a good idea to enlist the help of a second person to ensure safe and secure installation. We hope these tips help you hang your large piece with confidence!
Thank you for sharing your positive experience with the guide! We’re thrilled to hear that you found the instructions easy to follow and that your wood art decor turned out great. It’s always rewarding to see the end result and we’re glad the guide helped you achieve your desired outcome. Enjoy your beautiful decor!
I really enjoyed following this guide, but I had to make a slight adaptation to step 3. Instead of preparing the wall with adhesive hooks, I opted for a picture hanging strip since it provides a more secure hold for my wood art decor. It worked perfectly for me, and I just wanted to share this variation for others who might prefer the same. Overall, great guide!
Thank you for sharing your personal variation! We appreciate your input and it’s great to know that a picture hanging strip worked well for your wood art decor. It’s always good to explore different options and find what works best for your specific needs. We’re glad you enjoyed the guide overall, and we hope others find your variation helpful too. Happy hanging!