How to Safely Handle and Cut Wood for Your Artwork
In this step-by-step guide, we will provide you with the necessary knowledge and techniques to safely handle and cut wood for your artwork. Our aim is to ensure that you have a clear understanding of the process and feel confident in working with wood as a medium for your artistic creations. We will cover important aspects such as selecting the right tools, preparing the wood, ensuring safety precautions, and executing precise cuts. By following this guide, you will be equipped with the skills to create stunning wood art while prioritizing your safety.
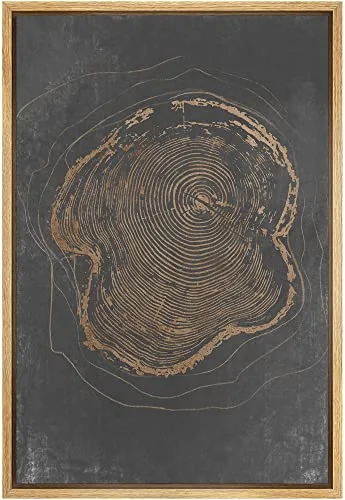
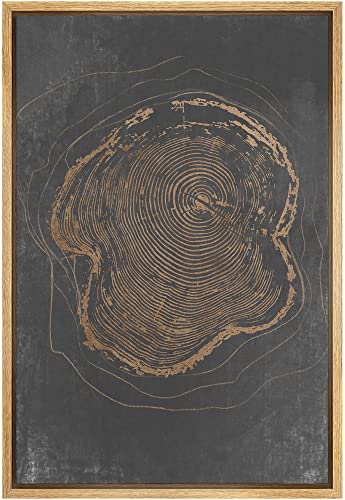
Stunning Wood Creations for Every Home

Selecting the Right Wood
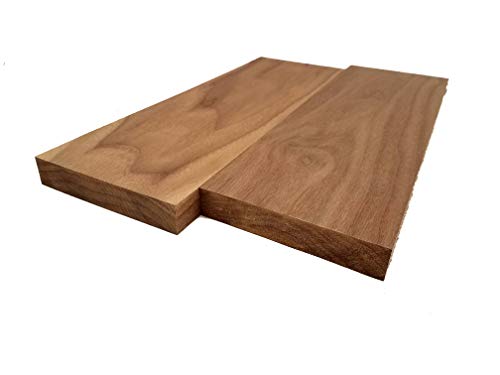
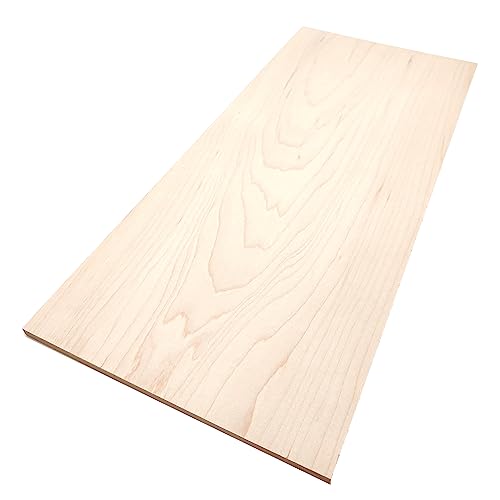
When creating artwork, selecting the right type of wood is crucial to achieving the desired result. Different wood types have varying characteristics that can greatly impact the outcome of your project. Here are some key points to consider:
- Hardwood vs. Softwood: Hardwoods like oak, cherry, and walnut are known for their durability and strength, making them suitable for intricate carvings and detailed artwork. Softwoods like pine and cedar, on the other hand, are easier to work with and often used for larger sculptures or outdoor pieces.
- Grain Patterns: Each wood species has its own unique grain pattern, which can add depth and visual interest to your artwork. For example, the prominent grain of ash or mahogany can enhance the aesthetics of a wooden sculpture, while a smoother grain like maple or birch might be more suitable for a painting surface.
- Stability and Moisture Resistance: Wood expands and contracts with changes in humidity, so it’s important to consider the stability and moisture resistance of different wood types. For projects that will be exposed to moisture or fluctuations in temperature, using a wood species like teak or cypress, which are naturally resistant to decay and warping, is advisable.
- Color and Texture: The natural color and texture of wood can greatly influence the visual impact of your artwork. For instance, the rich reddish-brown hue of mahogany can create a warm and inviting feel, while the lighter tones of beech or ash can provide a more contemporary and minimalist look.
Remember, these are general guidelines, and experimentation is always encouraged in the world of art. By understanding the characteristics of different wood types and their suitability for various art projects, you can make informed decisions that will enhance the quality and longevity of your artwork.


Gathering the Necessary Tools
To safely handle and cut wood for artwork, there are several essential tools you will need. Firstly, a tape measure will be indispensable for accurate measurements. Safety goggles are also crucial to protect your eyes from any flying debris. Additionally, a jigsaw is necessary for cutting through the wood, while sandpaper will help in achieving a smooth finish. Lastly, don’t forget to have clamps on hand to secure the wood in place while you work.
Measuring and Marking the Wood
To accurately measure and mark the wood for cutting, start by using a measuring tape or ruler to determine the desired length. Ensure that the wood is placed on a flat surface and held securely. Make a small mark using a pencil or a marking knife at the precise measurement point. For greater accuracy, it’s helpful to use a square or a straightedge to create a straight line across the width of the wood, connecting the measurement marks. This will serve as a guide for making precise cuts. Remember, accurate measurements and markings are crucial for achieving the desired outcome in your woodworking projects.


Using the Jigsaw to Cut the Wood
To safely operate a jigsaw for cutting wood for artwork, follow these instructions:
- Blade Selection: Start by choosing the appropriate blade for your project. For fine cuts, use a blade with higher teeth per inch (TPI). For faster, rough cuts, opt for a blade with lower TPI. Ensure the blade is compatible with your jigsaw model.
- Cutting Techniques: Before cutting, secure the wood firmly on a workbench or sawhorses. Mark the cutting line using a pencil or masking tape. Position the jigsaw with the blade just outside the waste area. Start the jigsaw and carefully guide it along the marked line, applying gentle downward pressure. For curves, move the jigsaw smoothly and steadily, adjusting the speed as needed.
- Safety Precautions: Prioritize safety while using a jigsaw. Always wear protective goggles and a dust mask to shield your eyes and lungs from debris. Position your hands away from the cutting line and keep them clear of the blade. Maintain a firm grip on the jigsaw and keep it stable throughout the cut. If the wood binds or the blade stalls, release the trigger immediately. Wait for the blade to stop completely before adjusting or removing it.
Remember, practice makes perfect. Take your time, be patient, and always prioritize safety when using a jigsaw to cut wood for your artwork. Happy cutting!
Smoothing the Edges and Surfaces
To achieve a smooth finish on cut edges and surfaces of wood, follow these steps:
- Start with a coarse-grit sandpaper, such as 80 or 100 grit, to remove any roughness or imperfections on the surface. Hold the sandpaper firmly in your hand and move it back and forth along the grain of the wood.
- Gradually switch to finer grit sandpapers, such as 150, 220, and 320, to refine the surface and achieve a smoother finish. Remember to sand along the grain to avoid causing scratches or tear-outs.
- Use a sanding block or a piece of wood wrapped with sandpaper to maintain even pressure and prevent uneven sanding. This will help achieve a consistent smoothness across the entire surface.
- After each sanding step, wipe the wood with a clean cloth to remove any dust or debris before moving to the next grit. This will ensure that the surface is clean and ready for the next sanding.
For example, if you are working on a project with raw, rough-cut wood, start by using 80 grit sandpaper to remove any large splinters or roughness. Once the surface feels smoother, move on to 150 grit to further refine the surface. Finally, use 220 or 320 grit sandpaper for a finer finish.
Remember, the key to achieving a smooth finish is to gradually progress from coarse to fine grit sandpapers, always sanding along the grain, and keeping the surface clean between sanding steps. Happy sanding!
Applying Finishes and Sealants
Applying Finishes and Sealants to wood artwork requires careful consideration of the desired outcome. First, identify the type of finish or sealant that suits your needs, such as varnishes, lacquers, oils, or waxes. Prepare the wood surface by sanding it smooth and removing any dust. Then, follow the manufacturer’s instructions for applying the chosen finish or sealant, using a clean brush or cloth. Apply multiple thin coats, allowing each coat to dry completely before adding the next. Sand lightly between coats for a smooth finish. Remember to work in a well-ventilated area and wear appropriate protective gear.
Handling and Storing Cut Wood Safely
When it comes to handling and storing cut wood safely, there are a few key practices to keep in mind. First, it’s important to stack the wood properly to prevent it from toppling over and causing accidents. Make sure to stack the wood in a neat and stable manner, using supports or racks if necessary. Secondly, protecting the wood from moisture is crucial to prevent rotting and weakening of the wood. Store the wood in a dry and well-ventilated area, preferably off the ground and covered with a tarp or plastic sheet. Lastly, be aware of potential hazards such as sharp splinters or protruding nails. Always wear protective gloves and inspect the wood for any hazards before handling it. Remember, following these practices will help ensure your safety when working with cut wood.
Cleaning Up and Maintaining Tools
To clean and maintain tools used for handling and cutting wood, start by removing any excess sawdust or debris from the tool’s surface. Use a soft brush or cloth to gently wipe away the dirt. For tools with blades, such as saws and chisels, consider using a lubricant to prevent rust formation. Sharpen the blades regularly to ensure optimal cutting performance. Store the tools in a dry and clean area to prevent moisture damage. Regularly inspect the tools for any signs of wear and tear or loose screws, and make necessary repairs or replacements. By following these steps, you can prolong the lifespan of your tools and maintain their optimal performance.
Wrapping up your woodwork journey
In conclusion, we have explored the essential steps for safely handling and cutting wood for your artwork. We have emphasized the importance of wearing protective gear, selecting the right tools, and using proper cutting techniques. By following these guidelines, you can ensure a safe and enjoyable woodcutting experience. Armed with this knowledge, we encourage you to unleash your creativity and bring your artistic visions to life. Remember, safety and creativity go hand in hand, so go ahead and start creating beautiful woodwork masterpieces!
Essential Equipment & Supplies

Woodworking Techniques
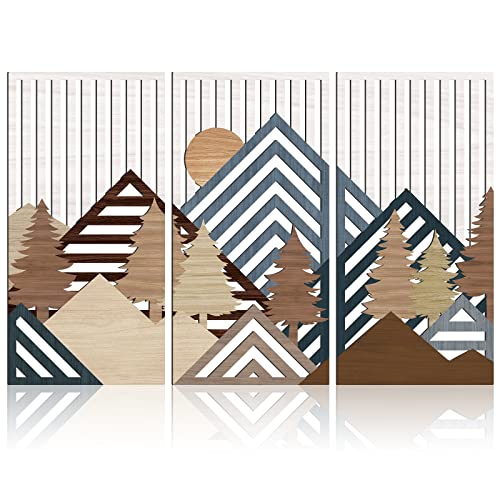
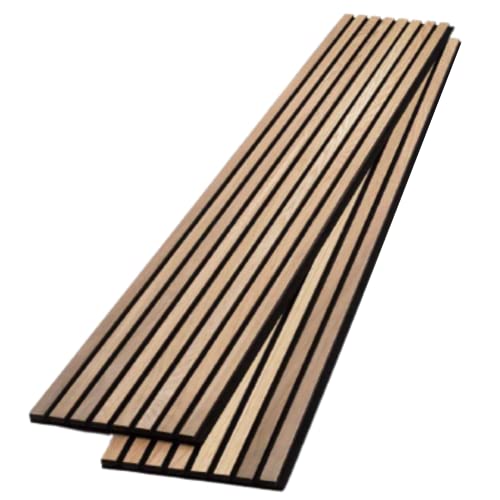
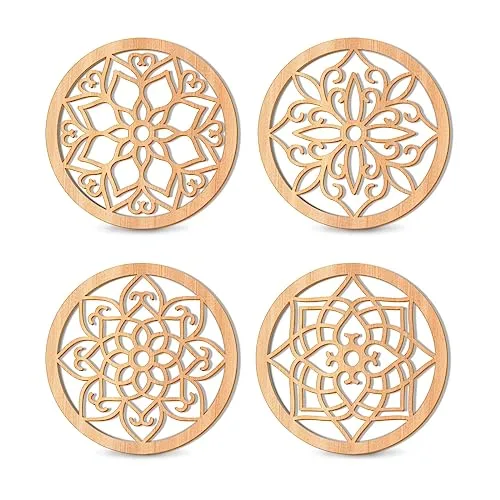
Getting Creative with Modern Wood Art
- Start by choosing a suitable piece of modern wood art that resonates with your personal style and preferences. Look for artwork that speaks to you, whether it’s a sculpture, wall hanging, or furniture piece
- Consider the placement of your modern wood art. Determine the best location in your home or office where the artwork can be showcased and appreciated. It could be a focal point in your living room, a statement piece in your hallway, or a conversation starter in your workspace
- Experiment with different lighting options to enhance the beauty of your modern wood art. Soft or dim lighting can create a cozy and intimate ambiance, while bright lighting can highlight the intricate details and textures of the wood
- Explore different ways to incorporate modern wood art into your existing decor. You can mix and match styles by combining wood art with other materials like metal or glass. Alternatively, you can create a cohesive look by sticking to a specific theme or color scheme
- Lastly, take the time to learn about the artist behind the modern wood art. Understanding their inspiration, technique, and story can deepen your appreciation for the artwork and give you a better understanding of its value
- Remember, the most important thing is to enjoy and appreciate your modern wood art. Let it inspire you and be a source of beauty and creativity in your living space


This guide is really helpful for beginners like me who are interested in woodwork for artwork. I would love to see a future article on different types of finishes and sealants that can be used for wood artwork. Also, it would be great if you could provide some tips on how to choose the right jigsaw for cutting wood. Thank you!
I followed this guide and successfully cut wood for my artwork. The instructions were clear and easy to follow. I used a jigsaw for the first time and it worked perfectly. The finishes and sealants recommended in the guide also gave my artwork a professional look. Thank you for sharing this valuable guide!
Thank you so much for sharing your experience! I’m thrilled to hear that you successfully cut wood for your artwork using the guide. It’s great to know that the instructions were clear and that the recommended finishes and sealants worked well for you. Keep up the good work and feel free to reach out if you have any more questions!
In step 7, you mentioned handling and storing cut wood safely. Can you provide some tips on how to properly store the cut wood to prevent warping or damage over time? Thank you!
Thank you for your question! Properly storing cut wood is important to prevent warping or damage. I’ll definitely cover this topic in a future article and provide tips on how to store cut wood safely. Stay tuned for more information and feel free to ask if you have any more questions!
Thank you for your feedback! I’m glad you found the guide helpful. I’ll definitely consider your suggestions for future articles. Writing about different finishes and sealants for wood artwork and providing tips on choosing the right jigsaw sounds like a great idea. Stay tuned for upcoming articles!