How to Prepare and Sand your Wood for Rustic Art
Welcome to our step-by-step guide on how to prepare and sand your wood for rustic art! In this guide, we will walk you through the process of transforming ordinary wood into a beautiful canvas for your artistic creations. But before we dive into the steps, let’s take a quick moment to appreciate a crazy fact about rustic wood art.
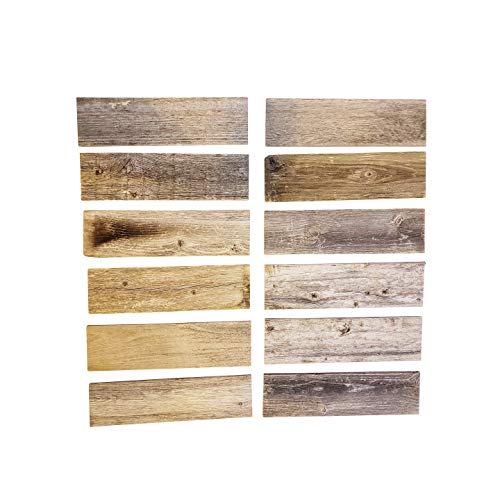
Did you know that some of the most stunning pieces of rustic wood art are created using reclaimed wood? Yes, that’s right! Old barns, fences, and even discarded furniture can find new life in the hands of a talented artist. This not only adds a unique character to the artwork but also helps reduce waste and promote sustainable practices. Now, let’s get started on our journey to prepare and sand your wood for rustic art!
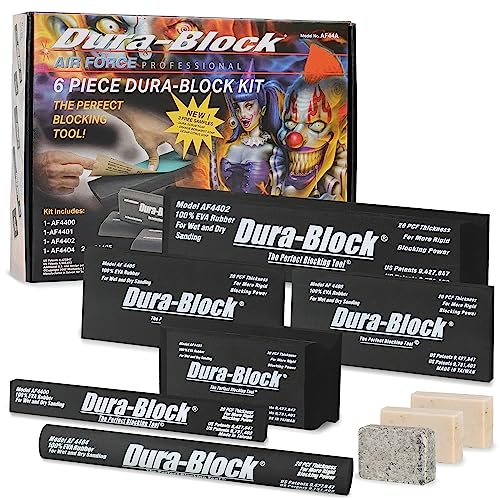
Step 1: Gather your materials. We’ll need sandpaper of different grits, a sanding block, safety goggles, a dust mask, and a clean cloth.
Step 2: Inspect and clean the wood. Before we begin sanding, it’s important to inspect the wood for any nails, staples, or other hardware. Once clear, give the wood a good cleaning to remove any dirt, dust, or grease that may interfere with the sanding process.
Step 3: Start with coarse grit sandpaper. Using the coarsest grit sandpaper, begin sanding the wood in the direction of the grain. This will help remove any rough surfaces, splinters, or imperfections.
Step 4: Gradually move to finer grit sandpaper. As you progress through the sanding process, switch to finer grit sandpaper to achieve a smoother surface. Remember to sand in the direction of the grain to avoid damaging the wood fibers.
Step 5: Clean and inspect the wood again. Once you’re satisfied with the smoothness of the wood, give it a thorough cleaning to remove any sanding residue. This will allow you to better appreciate the natural beauty of the wood.
And there you have it – a quick summary of our step-by-step guide on how to prepare and sand your wood for rustic art! By following these simple steps, you’ll be well on your way to creating stunning pieces of artwork on a beautiful rustic canvas. Happy sanding!
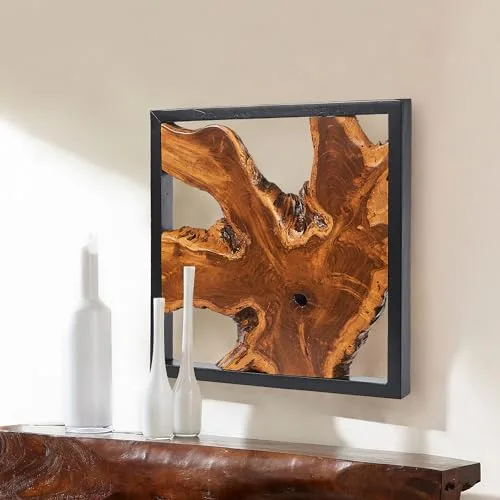
Top Picks for Rustic Wood Art


Gather Materials and Safety Precautions
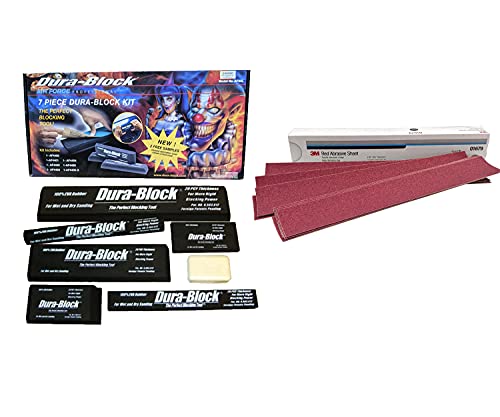
To gather materials for your project, start by collecting sandpaper in various grits. You will also need a sanding block or a power sander, depending on the size of your project. Don’t forget to get a pair of safety goggles to protect your eyes from dust and debris. Grab a dust mask as well to filter out any harmful particles. Finally, make sure to set up a clean and well-ventilated workspace to carry out your project safely.


Inspect and Clean the Wood
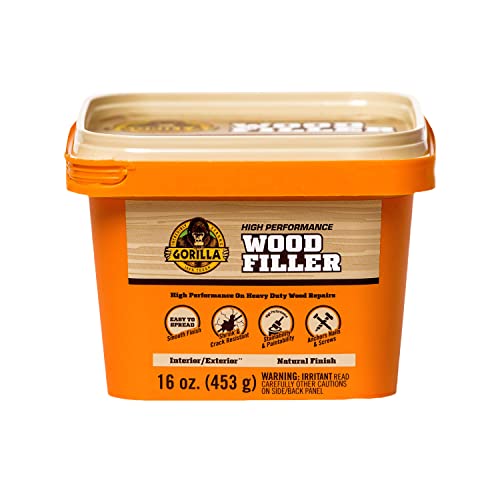
To examine the wood for any nails, screws, or imperfections, start by carefully inspecting the surface. Gently run your hands over the wood, feeling for any protruding hardware or rough spots. Once identified, use a screwdriver or pliers to remove any nails or screws. Next, prepare the wood for cleaning by removing any existing finish or paint. Grab a dry cloth or brush and vigorously wipe or scrub the surface, ensuring all dirt and debris are removed. This will help create a clean canvas for the next steps in your woodworking project.
Choose the Right Sandpaper Grit
To determine the appropriate sandpaper grit for the initial sanding of wood, follow these steps:
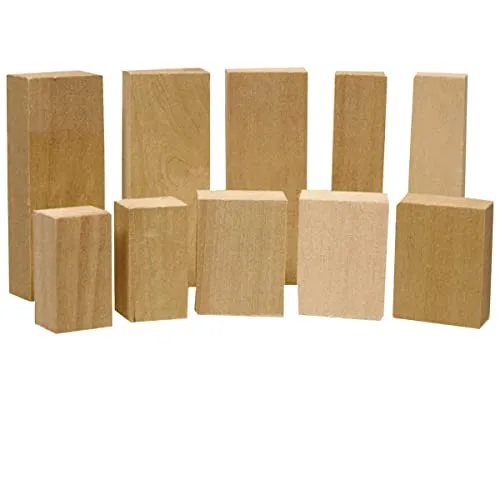
- Identify the type of wood you are working with. Different types of wood have varying hardness levels, which will affect the choice of sandpaper grit.
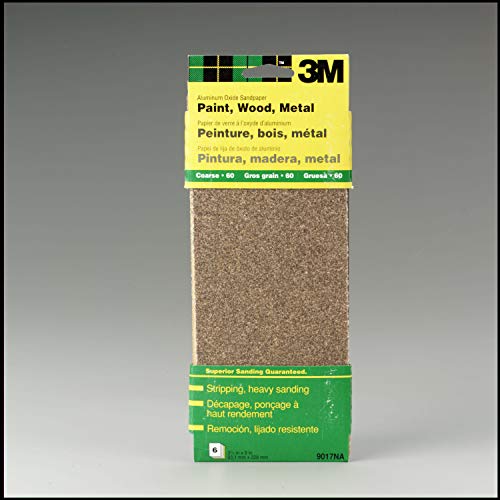
- For rough surfaces or the removal of old paint, start with a coarse grit sandpaper such as 80 or 100. This will efficiently and quickly remove the imperfections.
Example: If you are sanding a wooden table with rough, weathered spots, use a coarse grit sandpaper like 80 to effectively strip away the damaged surface.
- Once the rough areas have been smoothed out, switch to a finer grit sandpaper like 120 or 150 to prepare the wood for finishing. These finer grits will help to achieve a smooth and even surface, ready for staining or painting.
Example: If you are refinishing a wooden cabinet and want to create a sleek, polished finish, use a finer grit sandpaper like 120 to smooth out any remaining imperfections before applying the final coat of paint.
Remember, using the appropriate sandpaper grit will make a significant difference in the quality of your woodwork. Don’t hesitate to experiment with different grits to achieve the desired results.


Start Sanding with Coarse Grit
To start sanding with coarse grit, attach the coarse-grit sandpaper to the sanding block. Hold the sanding block firmly and begin sanding the wood in the direction of the grain, applying even pressure. Work systematically, moving the sanding block back and forth in smooth motions. As you sand, remove any visible imperfections, rough areas, or old paint. For example, if you notice a rough patch on the wood surface, focus on sanding that area until it becomes smooth and blends in with the rest of the wood.
Switch to Finer Grits
To switch to finer grits, start by changing the sandpaper on your block. Gradually progress to the next grit level and repeat the sanding process, making sure to remove all visible marks left by the previous grit. Pay close attention to details and edges, smoothing out the wood surface for a flawless finish.
Clean the Wood Surface
To clean the wood surface after sanding, follow these simple steps:
- Use a tack cloth: Gently wipe the entire surface with a tack cloth, a sticky fabric designed to pick up fine dust particles. This will effectively remove any remaining dust and debris.
- Brush it off: If you don’t have a tack cloth, use a soft-bristle brush to sweep away the dust. Make sure to brush in the direction of the wood grain to avoid scratching the surface.
- Vacuum the area: Alternatively, you can use a vacuum cleaner with a brush attachment to suck up the dust. Move the attachment slowly and gently to avoid damaging the wood.
Remember, the key is to achieve a clean surface that is free of any dust or debris. This will ensure a smooth and even finish for your rustic art. Happy cleaning!
Inspect and Repeat if Necessary
To inspect the wood surface for any remaining imperfections, scratches, or rough areas, carefully run your hand over the entire surface, feeling for any unevenness. If you come across any flaws, repeat the sanding process with a finer grit. This will help you achieve the desired smoothness and ensure a flawless finish.
Apply Finishing Touches
Once you are satisfied with the sanded surface, it’s time to apply the finishing touches to your rustic art. Here’s how you can choose and apply the desired finishing technique:
- Staining
- Select a wood stain that complements the overall look you want to achieve.
- Stir the stain thoroughly before applying it to the wood.
- Using a brush or a cloth, apply an even coat of stain in the direction of the wood grain.
- Allow the stain to penetrate the wood for the recommended time mentioned on the product label.
- Wipe off any excess stain with a clean cloth.
- Let the wood dry completely before moving on to the next step.
- Painting
- Choose a paint color that suits your artistic vision.
- Prepare the wood surface by applying a coat of primer, if needed.
- Stir the paint well to ensure an even consistency.
- Apply the paint using a brush or a roller, following the wood grain.
- Allow the first coat of paint to dry completely before applying additional coats, if necessary.
- Sand lightly between coats for a smoother finish.
- Let the paint dry thoroughly before proceeding.
- Leaving the Wood Natural
- If you prefer the natural beauty of the wood, you can leave it as it is.
- Ensure that the wood surface is clean and free from dust or debris.
- Apply a clear protective finish, such as varnish or polyurethane, to enhance the wood’s durability and appearance.
- Follow the instructions on the product for application and drying times.
Remember to always work in a well-ventilated area and wear appropriate safety gear when applying finishes. With these instructions, you’ll be able to achieve the perfect finishing touch for your rustic art. Happy creating!
Protect and Preserve
To protect and preserve the finish on your wood, follow these steps:
- After applying the finish, let it dry completely. This may take several hours or even overnight, depending on the type of finish used.
- Once dry, consider adding a protective layer to enhance durability and maintain the wood’s appearance. Some options to consider include varnish or wax.
- To apply varnish, start by sanding the surface lightly with fine-grit sandpaper. Clean the surface to remove any dust or debris. Use a brush to apply the varnish in thin, even coats, following the wood grain. Allow each coat to dry completely before applying the next one. Repeat this process until you achieve the desired level of protection and sheen.
- Alternatively, you can use wax to protect the wood. Apply a small amount of wax to a clean cloth and rub it onto the wood surface in a circular motion. Allow the wax to dry according to the product’s instructions, then buff the surface with a clean cloth to achieve a smooth, protective finish.
Remember, adding a protective layer not only enhances durability but also helps preserve the wood’s appearance for years to come.
Achieving a flawless finish
In conclusion, we hope that this step-by-step guide has been helpful in equipping you with the necessary knowledge and techniques to effectively prepare and sand your wood for rustic art. By following these instructions, you can ensure a smooth and well-prepared surface for your creative projects. Remember to take your time, be patient, and enjoy the process of transforming raw wood into a beautiful canvas for your artistic endeavors. Happy creating!


I love creating rustic wood art, and this guide has been immensely helpful in improving my preparation and sanding process. One tip I would like to share is to use a wood conditioner before sanding. It helps to even out the wood surface and makes sanding easier. Highly recommended!
I have a question about step 5. How do I know when it’s the right time to switch to finer grits? Are there any visual cues or signs to look for on the wood surface?
That’s a great question! When sanding, it’s generally recommended to start with a coarse grit to remove any roughness or imperfections on the wood surface. As you progress, you can switch to finer grits to achieve a smoother finish. A good indication that it’s time to switch to finer grits is when the wood surface starts to feel smoother and the coarse grit sandpaper is no longer making noticeable changes. However, it’s always a good idea to visually inspect the wood and feel it with your hands to determine if you’re satisfied with the smoothness before moving on to finer grits.
I disagree with step 3. Instead of choosing sandpaper grit based on personal preference, I believe it’s better to test different grits on a scrap piece of wood to see which one achieves the desired level of smoothness.
Thank you for sharing your perspective. Testing different grits on a scrap piece of wood is indeed a good approach to determine the desired level of smoothness. Personal preference and the specific wood being worked on can also play a role in choosing the right sandpaper grit. We appreciate your input and acknowledge the value of testing for optimal results.
I have been working on rustic wood art for a while now, and I have found that using a tack cloth after sanding is a crucial step. It helps to remove any remaining dust or debris from the wood surface, ensuring a smooth finish. I would highly recommend adding this step to the guide.
Thank you for your suggestion! Adding the step of using a tack cloth after sanding is a great idea. It will definitely help readers achieve a cleaner and smoother finish on their wood surfaces. We appreciate your input and will consider including this step in future revisions of the guide.
Can you recommend any specific brands of sandpaper that work well for rustic wood art? I’ve tried a few different ones, but some tend to wear out quickly or leave scratches on the wood.
I have found that using a sanding sponge is more comfortable for me compared to traditional sandpaper. It provides a better grip and allows for more precise sanding. I highly recommend giving it a try!
I followed this guide and successfully prepared and sanded my wood for rustic art. The finishing touches really made a difference in bringing out the natural beauty of the wood. I applied a coat of wood stain and then sealed it with a clear varnish. The result was stunning!
That’s wonderful to hear! Applying a coat of wood stain followed by a clear varnish is a great way to enhance the natural beauty of the wood and protect it. We’re glad you achieved stunning results with your rustic art. Thank you for sharing your success story!
I really enjoyed following this guide to prepare and sand my wood for rustic art. The step-by-step instructions were clear and easy to follow. One variation I made was using a sanding block instead of just sandpaper to make the process more efficient. It helped me to have a better grip and control while sanding the wood. Overall, great guide!