Are there any specific safety precautions to consider when working with wooden engraving tools?

Welcome to our blog post! We understand that working with wooden engraving tools can be both exciting and challenging. As fellow enthusiasts of this delicate art form, we want to ensure that you have all the information you need to work safely and confidently. We know that your safety is of utmost importance, and that’s why we have put together this guide on specific safety precautions to consider when working with wooden engraving tools. So, let’s dive in and explore how you can protect yourself and create stunning engravings at the same time.
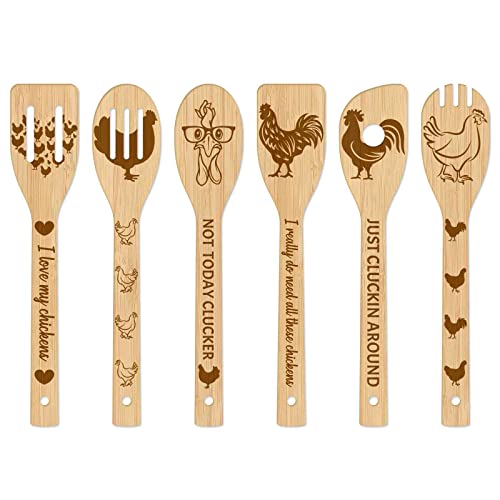
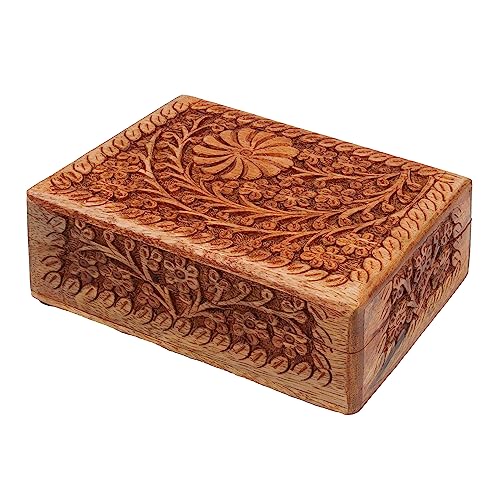
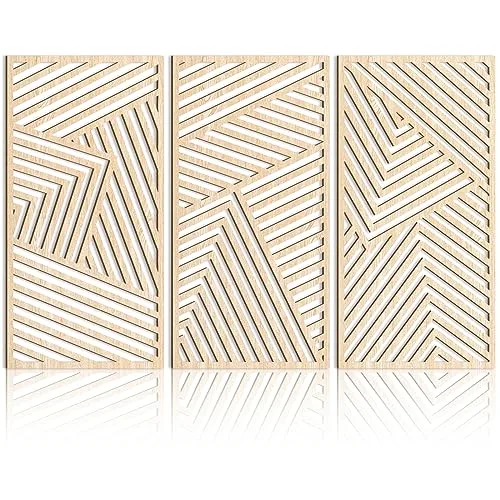
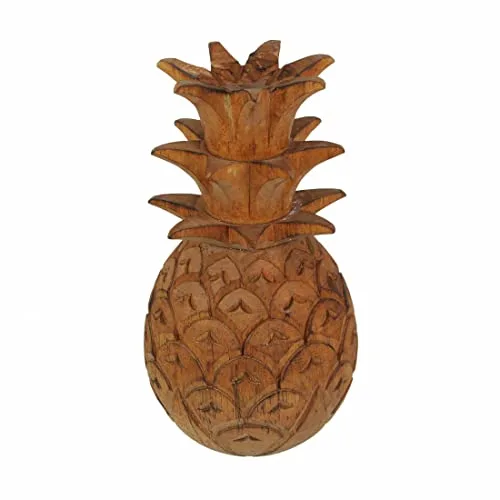
Discover the mesmerizing world of intricately carved wooden masterpieces
Understanding the tools
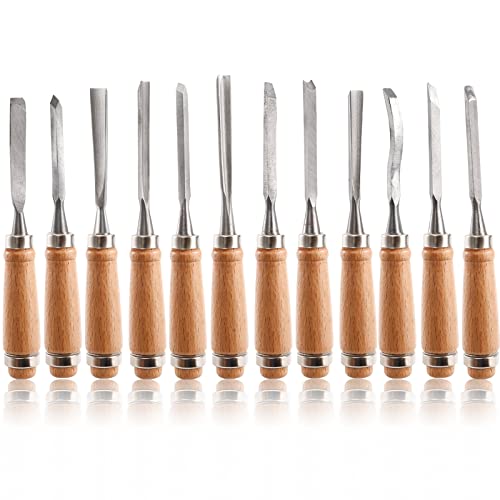
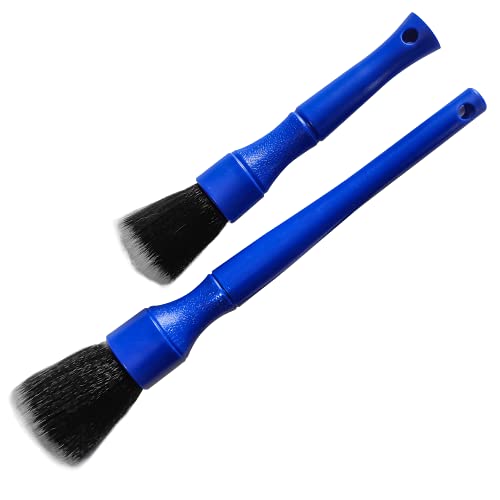
Wooden engraving is a beautiful and intricate art form that requires skill, patience, and the right tools. Before you embark on your journey into the world of wooden engraving, it is essential to familiarize yourself with the different types of tools available. In this guide, we will explore the various types of chisels, gouges, and knives used in engraving, and provide you with the knowledge to handle and maintain these tools properly.
Chisels: The Foundation of Wooden Engraving
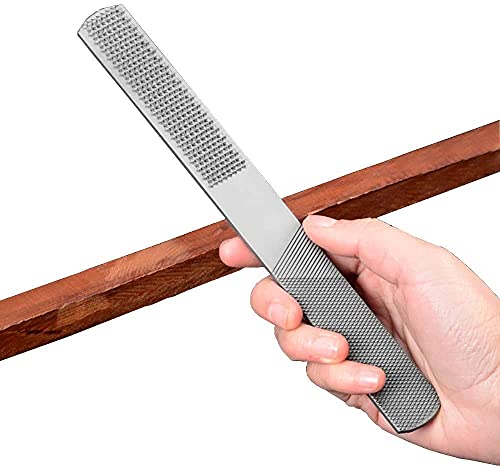
Chisels are the fundamental tools used in wooden engraving. They come in a variety of shapes and sizes, each serving a specific purpose. Here are some common types of chisels you should know:
- Straight Chisel: This chisel has a flat, straight blade and is used for creating straight lines, removing material, and leveling surfaces.
- V-Chisel: As the name suggests, this chisel has a V-shaped blade. It is ideal for carving grooves, creating texture, and making sharp, defined cuts.
- U-Chisel: With its U-shaped blade, this chisel is perfect for hollowing out areas and creating concave shapes in your engravings.
- Skew Chisel: The skew chisel has a diagonal blade and is excellent for creating angled cuts, chamfers, and intricate details.
Gouges: Adding Depth and Dimension
Gouges are curved cutting tools that are used to add depth and dimension to your engravings. Here are a few types of gouges commonly used in wooden engraving:
- Spoon Gouge: This gouge has a deep, rounded shape resembling a spoon. It is great for creating concave shapes, such as bowls or intricate patterns.
- Fishtail Gouge: The fishtail gouge has a narrow, curved blade that tapers to a point. It is perfect for adding fine details and delicate curves to your engravings.
- Back Bent Gouge: This gouge has a curved blade that bends backward. It is useful for carving channels, recesses, and other curved features.
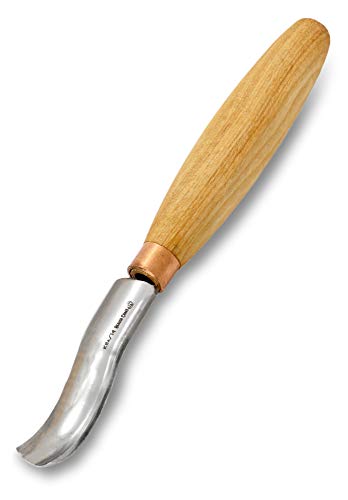
Knives: Precision and Intricacy
In addition to chisels and gouges, knives play a crucial role in wooden engraving. They allow for precision cuts and intricate detailing. Here are a few types of knives commonly used:
- Detail Knife: This knife has a small, pointed blade and is perfect for creating intricate details, such as fine lines and delicate patterns.
- Chip Carving Knife: The chip carving knife has a short, straight blade with a slight curve. It is used for removing small chips of wood and creating intricate designs.
- Whittling Knife: This knife has a longer, slender blade and is ideal for shaping and carving larger areas of wood.
Handling and Maintenance: Safety First!
Now that you are familiar with the various wooden engraving tools, it’s crucial to understand how to handle and maintain them properly. Here are some essential tips to ensure your safety and achieve the best results:
- Always wear appropriate safety gear, including safety glasses and gloves, to protect yourself from potential injuries.
- Keep your tools sharp and well-maintained. Dull tools can cause accidents and affect the quality of your engravings.
- Regularly clean and oil your tools to prevent rusting and keep them in good working condition.
- Store your tools in a clean, dry place, away from moisture and other potential hazards.
By following these guidelines, you will not only ensure your safety but also enhance your wooden engraving skills and achieve the desired results.
Remember, wooden engraving is a craft that requires practice, patience, and the right tools. With the knowledge and understanding of different types of chisels, gouges, and knives, you are well-equipped to embark on your wooden engraving journey. So, pick up your tools, let your creativity flow, and create stunning works of art that will be admired for generations to come.
Happy engraving!
The Importance of Protective Gear for Wooden Engraving
When it comes to working with wooden engraving tools, safety should always be a top priority. Wearing appropriate protective gear can significantly reduce the risk of accidents and injuries. In this blog section, we will discuss the essential protective gear needed for wooden engraving and why each item is important.
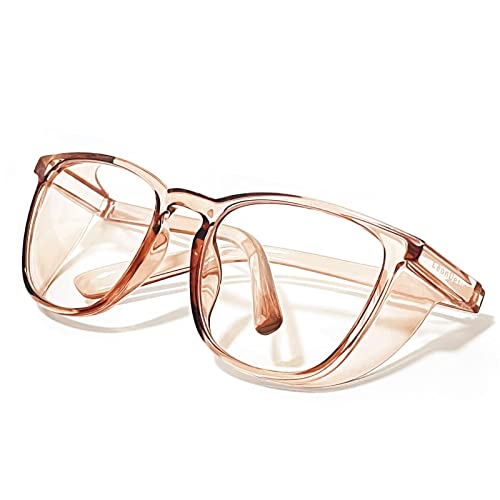
Safety Goggles: Shielding Your Eyes from Flying Wood Chips
Woodworking involves the use of sharp tools that can produce flying wood chips. These chips can pose a significant danger to your eyes if they come into contact with them. That’s why wearing safety goggles is crucial when working with wooden engraving tools. Safety goggles are designed to protect your eyes from any debris or particles that may be produced during the engraving process.
Key features of safety goggles:
- Impact-resistant lenses to withstand flying wood chips.
- Wraparound design for maximum coverage and protection.
- Anti-fog coating to maintain clear vision during intense woodworking sessions.
Dust Mask: Guarding Against Inhalation of Fine Particles
Woodworking generates a considerable amount of dust, which can contain fine particles that are harmful when inhaled. Breathing in this dust can lead to respiratory issues and long-term health problems. To protect yourself, wearing a dust mask is essential. A dust mask filters out these particles, ensuring that you breathe in clean air while working with wooden engraving tools.
Key features of a dust mask:
- NIOSH-approved (National Institute for Occupational Safety and Health) to ensure proper filtration.
- Adjustable straps for a secure and comfortable fit.
- Replaceable filters for long-lasting protection.
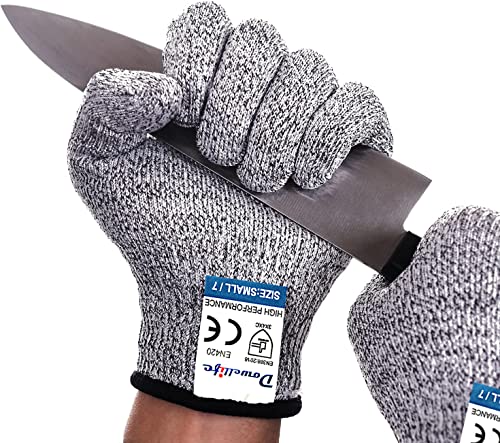
Gloves: Providing Grip and Protection for Your Hands
When handling wooden engraving tools, it’s essential to have a firm grip to maintain control and avoid accidents. Additionally, gloves offer an extra layer of protection against accidental cuts or splinters. Investing in a pair of high-quality gloves is a wise decision to ensure both safety and comfort during your wooden engraving projects.
Key features of gloves:
- Cut-resistant material to protect against sharp blades or edges.
- Enhanced grip for better control and maneuverability.
- Breathable fabric to prevent discomfort during extended use.
Remember, not all gloves are suitable for woodworking, so make sure to choose ones specifically designed for this purpose.
Workspace setup
When it comes to working with wooden engraving tools, creating a safe and suitable workspace is of utmost importance. Not only does it help prevent accidents, but it also provides a more comfortable environment for your woodworking projects. In this article, we will provide you with a detailed guide on how to set up your workspace for optimal safety and efficiency.
1. Ensuring Sufficient Lighting
Having adequate lighting in your workspace is essential for accurate and precise engraving. Insufficient lighting can lead to mistakes and potentially dangerous situations. Here are a few tips to ensure your workspace is well-lit:
- Install bright overhead lights or use adjustable task lights to illuminate your work area effectively.
- Consider investing in LED lighting solutions, as they offer bright and focused illumination while consuming less energy.
- Use natural light whenever possible by positioning your workspace near a window or using daylight lamps.
2. Keeping Your Workspace Clutter-Free
A cluttered workspace not only hampers your productivity but also poses a safety risk. Here’s how you can maintain a clutter-free environment:
- Organize your tools and materials in designated storage areas such as drawers, shelves, or toolboxes.
- Keep your work surface clear by removing unnecessary items that may obstruct your engraving process.
- Use cable management solutions to keep cords and cables neatly organized and out of the way.
3. Securing Your Workpiece
To ensure stability and prevent accidents, it’s crucial to secure your wooden piece while engraving. Follow these steps to secure your workpiece effectively:
- Utilize a sturdy workbench or table specifically designed for woodworking tasks. Look for features like adjustable height and clamping options for added convenience.
- Use clamps or vices to hold your workpiece securely in place.
- Consider using non-slip mats or adhesive pads to prevent your workpiece from sliding during engraving.
4. Ergonomics and Comfort
Working for extended periods can take a toll on your body. Pay attention to ergonomics and make your workspace as comfortable as possible:
- Ensure your work surface is at a suitable height to avoid straining your back, neck, or shoulders.
- Invest in an ergonomic chair that provides proper support and promotes good posture.
- Use cushioned floor mats to reduce fatigue and provide comfort during long engraving sessions.
By implementing these workspace setup tips, you can create a safe and comfortable environment for your wooden engraving projects. Remember, a well-organized and well-lit workspace not only enhances your safety but also contributes to the quality of your work.
Disclaimer: The products mentioned below are provided as real-life examples for clarity and do not represent an endorsement or promotion.
Recommended Products:
- LED Task Light – Try the “XYZ LED Task Light” for bright and focused illumination.
- Woodworking Workbench – Consider investing in the “ABC Woodworking Workbench” for a sturdy and adjustable work surface.
- Cable Management Solutions – Keep cords organized with products like the “123 Cable Organizer Kit.”
- Non-slip Mats – Prevent workpiece sliding with adhesive mats like the “DEF Non-slip Mats.”
Benefits of Proper Workspace Setup:
- Reduced risk of accidents and injuries.
- Improved precision and accuracy in engraving.
- Enhanced comfort and reduced fatigue during long sessions.
Remember, a well-organized and well-lit workspace not only enhances your safety but also contributes to the quality of your work. So, take the time to set up your workspace properly and enjoy a fulfilling and productive woodworking experience.
Safe handling techniques
Wooden engraving tools are a popular choice for artists and craftsmen looking to create intricate designs and patterns on various surfaces. However, it’s important to remember that these tools can be sharp and pose a risk if not handled properly. By following safe handling techniques, you can ensure both your safety and the success of your engraving projects. In this blog section, we will discuss some key tips and guidelines to keep in mind when using wooden engraving tools.
Hold the Tools Firmly and Use Them in a Controlled Manner
One of the first things to remember when working with wooden engraving tools is to hold them firmly and use them in a controlled manner. This helps to maintain stability and precision while reducing the risk of slips or unintended cuts. Here are some tips to help you achieve this:
- Grip the tool firmly but without applying excessive force. This allows for better control and reduces the chances of the tool slipping from your hand.
- Keep your fingers and hand away from the cutting edge. Position your hand comfortably on the tool’s handle, allowing your fingers to guide the motion without coming into contact with the sharp edge.
Avoid Applying Excessive Force
When using wooden engraving tools, it’s important to avoid applying excessive force. Doing so can not only lead to inaccurate cuts but also increase the likelihood of slips and injuries. Instead, let the sharpness of the tool do the job. Here’s why:
- Excessive force can cause the tool to jump or bounce, resulting in unintended cuts or scratches on your workpiece.
- By allowing the sharpness of the tool to do the work, you can achieve cleaner and more precise cuts, enhancing the overall quality of your engravings.
Keep Your Fingers and Other Body Parts Clear
Another crucial aspect of safe handling is keeping your fingers and other body parts clear of the cutting edge. This helps to prevent accidental cuts and injuries. Follow these guidelines to ensure your safety:
- Always be mindful of the location of your fingers in relation to the tool’s cutting edge.
- Use a proper grip and technique that keeps your fingers away from the path of the tool.
- Consider using safety measures like finger guards or carving gloves for added protection.
Wrapping it up: Essential safety measures for working with wooden engraving tools
In conclusion, when working with wooden engraving tools, there are specific safety precautions that should be considered. By following the guidelines we discussed in this blog post, you can ensure a safe and enjoyable experience. Remember, safety is paramount, so take the time to understand the tools, wear protective gear, set up a suitable workspace, and practice safe handling techniques. With these precautions in place, you can confidently embark on your wooden engraving journey. Happy engraving!


Thank you for your comment! The use of gloves when working with wooden engraving tools is a debated topic. Some people find that gloves provide added protection and grip, while others feel that it hinders their ability to handle the tools effectively. Ultimately, it comes down to personal preference and comfort. It’s important to find a balance between safety and dexterity when choosing whether to wear gloves or not.
I found that wearing safety goggles is essential when working with wooden engraving tools, especially to protect my eyes from wood chips and dust. Do you have any specific recommendations for safety goggles?
Thank you for sharing your experience! Wearing safety goggles is indeed crucial when working with wooden engraving tools to protect your eyes. When choosing safety goggles, look for ones that are impact-resistant and provide a secure fit. It’s also advisable to opt for goggles with anti-fog coating to maintain clear vision. Several reputable brands like 3M, Uvex, and Dewalt offer safety goggles that meet these criteria.
It would be interesting if you could cover topics like different types of wood suitable for engraving and techniques for creating intricate designs in future articles. Looking forward to reading more!
Thank you for your suggestion! I’ll definitely consider covering topics like different wood types suitable for engraving and techniques for creating intricate designs in future articles. I appreciate your interest and feedback!
Could you provide some guidance on how to set up a safe workspace for working with wooden engraving tools? I want to ensure I have everything in place to minimize any potential hazards.
Thank you for your question! Setting up a safe workspace is crucial when working with wooden engraving tools. Here are some key considerations: 1) Ensure sufficient lighting to see your work clearly. 2) Keep the work area clean and free of clutter. 3) Use a sturdy workbench or table to secure your materials. 4) Consider using a dust collection system or wearing a dust mask to minimize exposure to wood dust. 5) Keep a fire extinguisher nearby in case of any accidents. I hope these tips help you create a safe working environment!
I’ve heard that some people prefer using gloves when working with wooden engraving tools, while others argue that it impairs their dexterity. What are your thoughts on this?
I’ve been using wooden engraving tools to create intricate designs on furniture pieces. It’s a great way to add a personal touch. I would highly recommend using a vice or clamp to secure the wood firmly while working to prevent any slips or accidents.
Thank you for sharing your tip! Using a vice or clamp to secure the wood firmly is an excellent safety measure when working with wooden engraving tools. It helps to prevent slips, ensuring better control and reducing the risk of accidents. Your suggestion adds value to the article, and I appreciate your input!